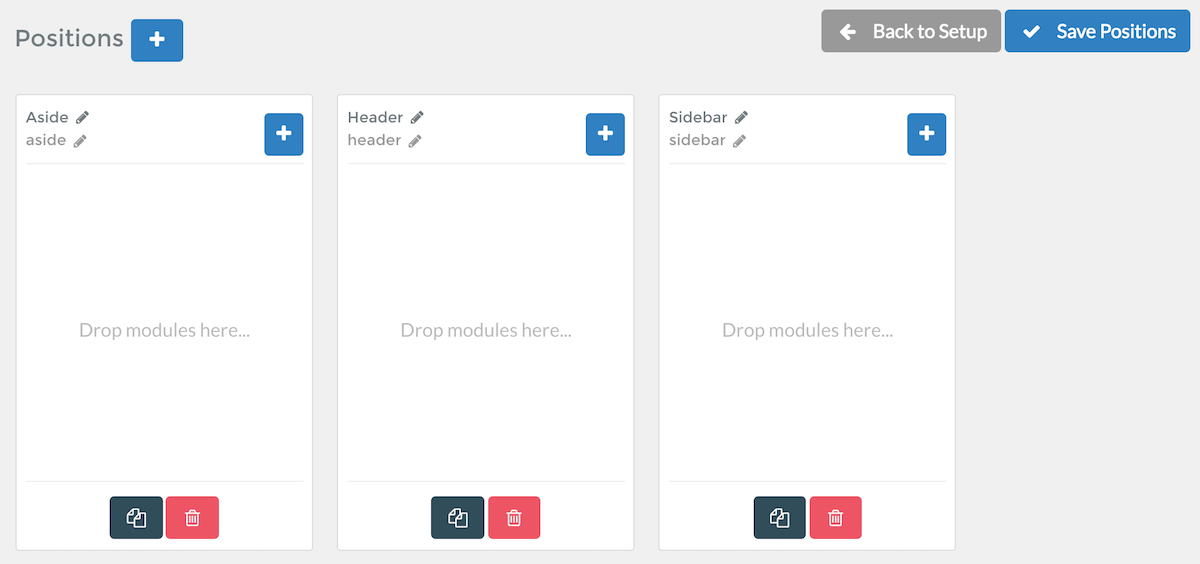
Positions
A Module Position or Widget Position particle plays an important role in the layout of a page. Each position particle represents a position where modules can be assigned.
Instead of breaking out your text editor to rename and/or create widget positions, you can do so with a few clicks of the mouse. This is also easier than going through the modules/widgets and reassigning them to the new positions scheme one-by-one.
In addition, you can easily create vastly different positions setups between outlines, enabling you to have an entirely different positions set and layout from one page to the next.
Creating, Deleting, and Moving Positions
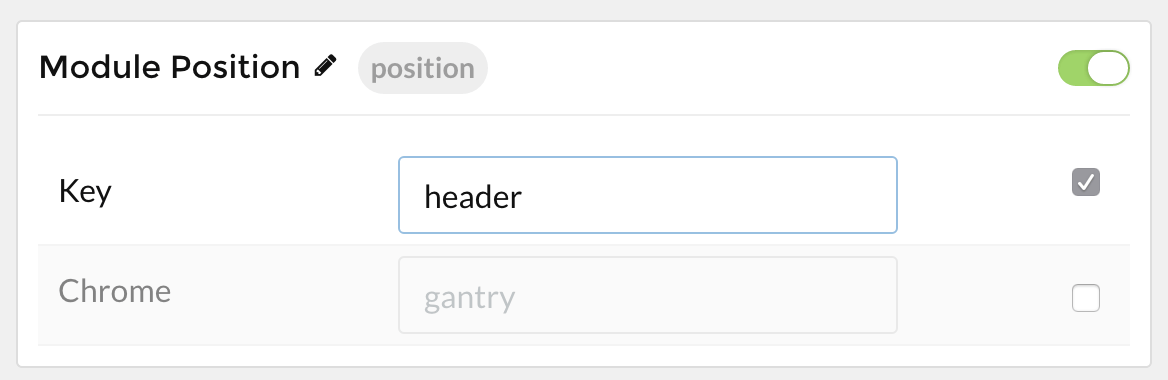
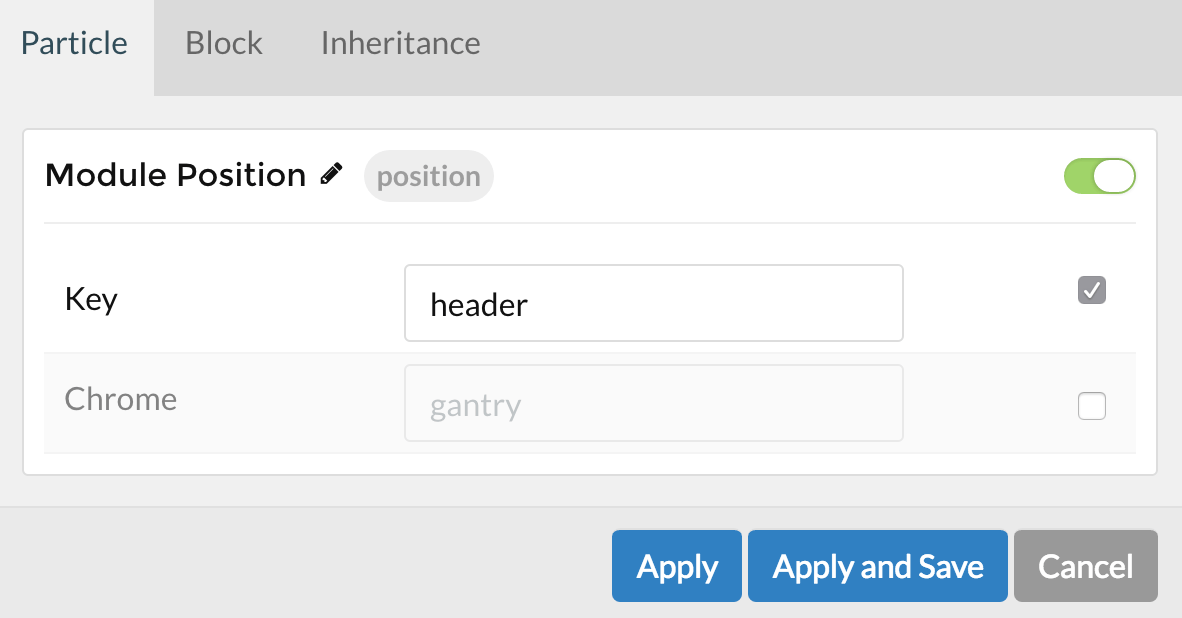
If you want to add a new widget/module position to a page, you simply need to drag-and-drop the Module Position (Joomla and Grav) or Widget Position (WordPress) particle and move it where you would like the new position to appear. At this point, you need but to rename the position Key which is the text reference you would assign modules/widgets to in order to have them appear in the position.
If you are migrating from an existing template, and you have modules that have already been assigned to positions that use the naming convention of the previous template, you can simply rekey your positions to match. That way, you can keep your existing modules without having to reassign them one-by-one.
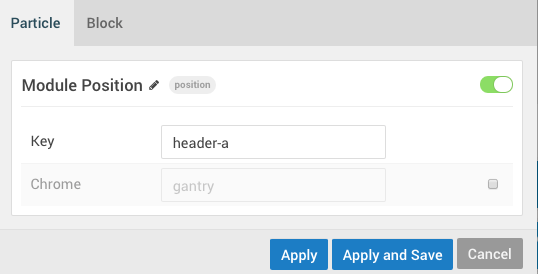
For example, if you are setting up a Gantry 5 template on a site that had a batch of modules assigned to position header-a, you can include them in your new site very easily by placing a Module Position particle in the space you would like to have it load in the Layout Manager and set the Key field to header-a.
If you are migrating from an existing template, and you have modules that have already been assigned to positions that use the naming convention of the previous template, you can simply rekey your positions to match. That way, you can keep your existing modules without having to reassign them one-by-one.
For example, if you are setting up a Gantry 5 template on a site that had a batch of modules assigned to position header, you can include them in your new site very easily by placing a Widget Position particle in the space you would like to have it load in the Layout Manager and set the Key field to header.
Grav does not have a built-in module or widget manager. So, we built one for it in Gantry 5.
The Module Position particle gives you the ability to create a modular position within the Layout Manager in which to assign Positions you can set up in the Positions area of the administrator. This is a simple and easy way to create stacks of particles that can be placed in a Layout in seconds.
For example, creating a module position and giving it the key header, will load the Position you've created in the Positions panel and assigned the same header key.
Particles placed in these positions can be altered in one place. Any changes will automatically apply anywhere the module position is assigned.
Deleting a position is just as easy as creating one. Just drag-and-drop the position to the top of the Layout Manager to a section that appears with the label Drop here to delete. This will delete the position. If you change your mind, just click the Back arrow in the History tool to bring it back.
If you want to disable a position temporarily (which hides its assigned modules/widgets), you can do so by clicking the settings cogwheel on the right-hand side of the position in Layout Manager and toggling the red/green activation switch in the upper-right area of the Particle settings tab. The position will still show in the front end but it won't be rendered, so if you would like to re-enable it later on, you can do so.
Moving positions around the layout is also just a matter of dragging and dropping them where you want them to go. If you want your main Showcase modules/widgets to appear under the features modules/widgets, you can move them without having to edit a single file.
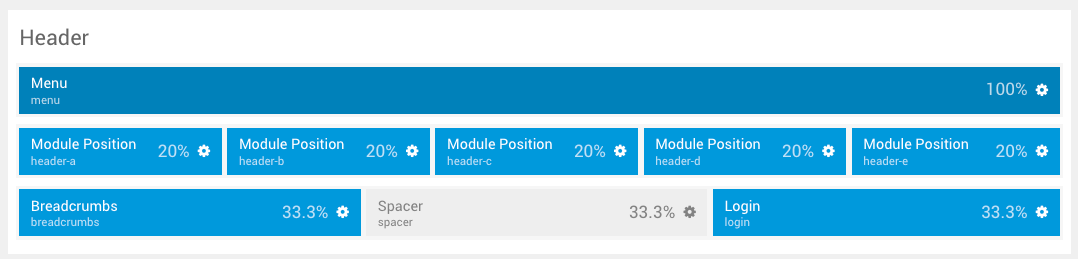
Virtually Unlimited Positions Per row

You could have 0, 1, 5, 10, or even 20 individual widget positions in the Header section if you wanted to. This enables you to have one or two positions where you need them, without the need to have positions in places you do not want them.
Quick and Easy Naming
As we mentioned earlier, you can name and rename positions on the fly, making it easy to migrate existing modules without having to individually reassign them to specific positions.
You can also freely name them as you need, giving them specific tags that are easy to remember and reference what is and is not assigned there.
For example, you could name and key a position as branding where you have your branding and copyright modules. The reference name and the Key are unrelated to each other, so you could use anything as a reference name (or a key for that matter), as long as you are assigning your modules to the appropriate Key. Naming a position Happy and keying it top-a would be absolutely fine. Whatever works for you.
This frees you from standardized naming conventions that can be needlessly complex and confusing.
As we mentioned earlier, you can name and rename positions on the fly, making it easy to migrate existing widgets without having to individually reassign them to specific positions.
You can also freely name them as you need, giving them specific tags that are easy to remember and reference what is and is not assigned there.
For example, you could name and key a position as branding where you have your branding and copyright widgets. The reference name and the Key are unrelated to each other, so you could use anything as a reference name (or a key for that matter), as long as you are assigning your widgets to the appropriate Key. Naming a position Super Sidebar and keying it sidebar-a would be absolutely fine. Whatever works for you.
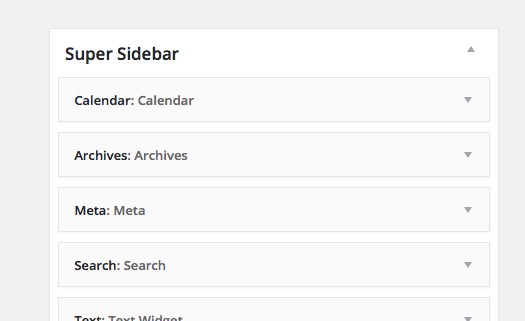
This name determines how the position appears in the Widgets manager. So, for example, if you title the position Super Sidebar, it will appear as pictured below in WordPress' Widgets page.
This frees you from standardized naming conventions that can be needlessly complex and confusing.
As we mentioned earlier, you can name and rename positions on the fly. This is a great, fast way to assign positions created in the Positions area of the admin and bring them into your layout.
You can also freely name them as you need, giving them specific tags that are easy to remember and reference what is and is not assigned there.
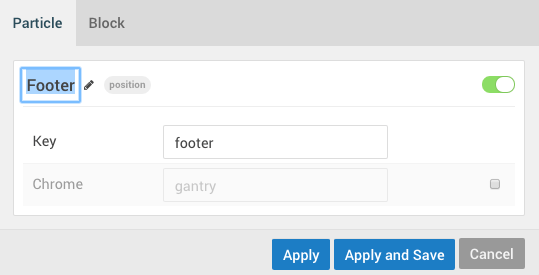
For example, you could name and key a position as branding where you store the stack of particles that relate specifically to your site's branding. The reference name and the Key are unrelated to each other, so you could use anything as a reference name (or a key for that matter), as long as you are assigning your widgets to the appropriate Key. Naming a position Super Sidebar and keying it sidebar-a would be absolutely fine. Whatever works for you.
Spacers
We have created a new Spacer Particle which enables you to create a blank space between two Positions, a Particle and a Position, or two Particles.
Gantry 5 introduces many new features that are created to make life easier for developers, their clients, and ultimately the visitors of the site. With its new Layout Manager and this system for handling widget positions, it will undoubtedly be not only the most powerful version of Gantry yet, but also the easiest to use.
Settings
The settings for a Position Particle can vary between content management systems (CMS). We have broken down the available options below.
| Setting | Description |
|---|---|
| Particle Name | The name of the module position. |
| Key | Sets the reference key by Joomla to identify the module position. |
| Chrome | Sets the module chrome. |
There are three different settings for a Position. The position's name, which is set at the top of the position's particle popup, determines the displayed name for the position in the Module Manager.
The second setting you will notice is the Key. This is an important one, as it is how the position is identified by Joomla. If you have two module positions on two different outlines with the same key, they will appear as one module position in the Widgets Manager. This is useful in cases where you want the same modules to appear on multiple different pages.
So, for example, you might give a module position the name of Header A and a key of header-a. When assigning a module to that position, you would enter header-a as it is the key Joomla uses to reference the position.
The third option is the Chrome. This sets the module position's chrome. This takes advantage of any Chrome HTML styling you have set up that you would like to have wrap each module placed in this position.
| Setting | Description |
|---|---|
| Particle Name | The name of the widget position appears in WordPress' Widget Manager for the position |
| Key | Sets the reference key by WordPress to identify the widget position (aka Widget Position ID). |
| Chrome | Sets the widget chrome. |
There are three different settings for a Position. The position's name, which is set at the top of the position's particle popup, determines how the position appears in the Widgets manager. So, for example, if you title the position Super Sidebar, it will appear as pictured below in WordPress' Widgets page.
The second setting you will notice is the Key. This is an important one, as it is how the position is identified by WordPress. If you have two widget positions on two different outlines with the same key, they will appear as one widget position in the Widgets Manager. This is useful in cases where you want the same widgets to appear on multiple different pages.
The third option is the Chrome. This sets the widget position's chrome. This takes advantage of any Chrome HTML styling you have set up that you would like to have wrap each widget placed in this position.
| Setting | Description |
|---|---|
| Particle Name | The name of the module position. This is used to back end reference. |
| Key | Sets the reference key that the Positions area of the admin uses to link to this particle. |
| Chrome | Sets the module chrome. |
There are three different settings for a Module Position. The position's name, which is used to help you organize in the back end.
The second setting you will notice is the Key. This is an important one, as it is how the position is identified. If you have two widget positions on two different outlines with the same key, they will appear as one module position in the Positions panel. This is useful in cases where you want the same position to appear on multiple different pages.
The third option is the Chrome. This sets the widget position's chrome. This takes advantage of any Chrome HTML styling you have set up that you would like to have wrap each widget placed in this position.
Using Particles in Module Positions (Joomla)
If you prefer to use a more traditional method of assigning content to areas of your site, you can of course use particles as though they were modules by assigning them to module positions as you would any other module.
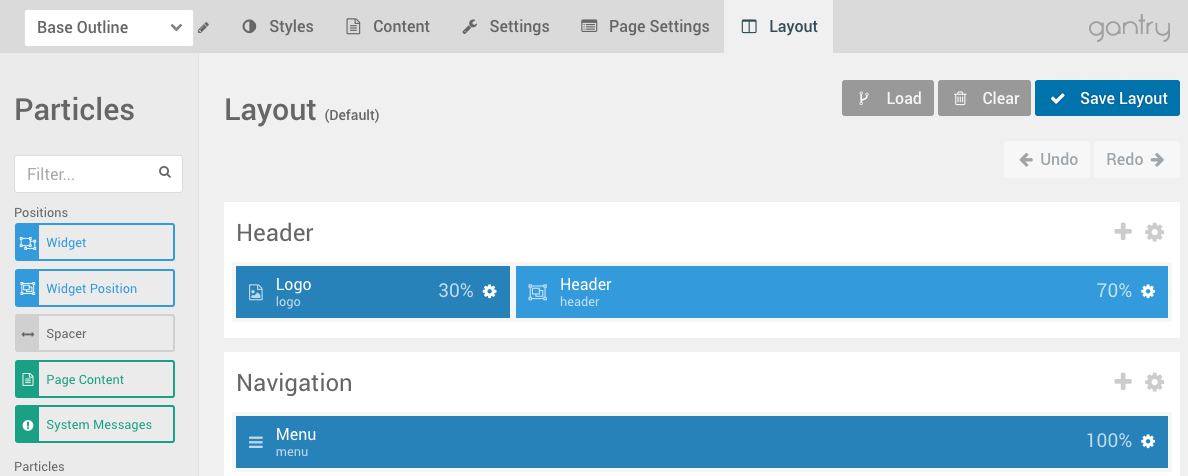
The first step to doing this is, of course, creating a module position in your layout. You can do this by selecting and dragging the Module Position particle from the sidebar to your desired location in the Layout Manager. Once you have done this, you will want to give it a key (and/or a particle name) that you can easily associate with that space.
In our example above, we used navigation-a to represent the first assignable module position in the Navigation section.
Once you have done this, you need but to navigate to the Module Manager in Joomla and create a new Gantry 5 Particle module.
Here, you can assign the module position as you would any other module, and Pick a Particle to select the particle you would like to have appear in that position. Your particle will then render just as any other module would on the front end.