Menu Editor
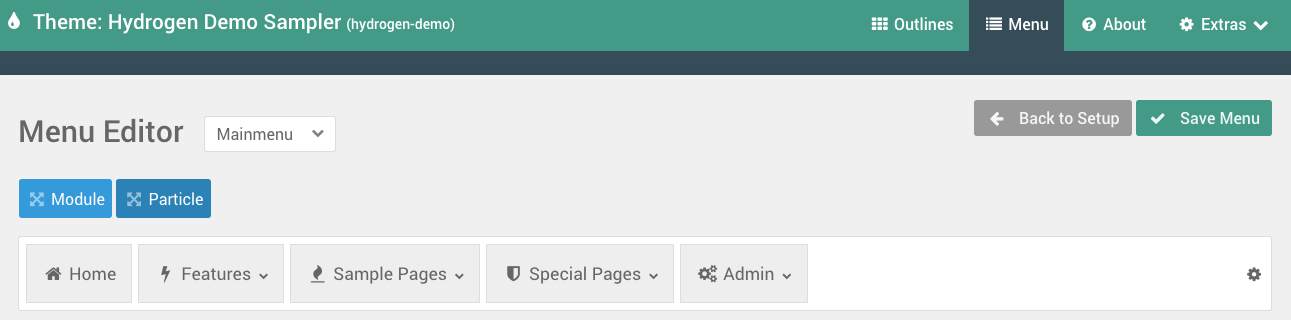
The Menu Editor panel in the Gantry Admin is where you can configure and refine menus used on the front end of the site. This does not totally replace the Menu Manager provided by the platform, but gives you the ability to quickly and easily add elements, such as in-line particles, to make a better experience for your users.
The Menu Editor administrative panel takes what your CMS' built-in Menu Manager has and enables you to override it. Changes you make in this panel do not in any way affect the way the CMS handles Menu items.
This panel is a Global panel, that is not specific to any outline. It's because of this that the changes you make here will affect all instances of a particular menu as it appears in any outline.
Selecting a Menu

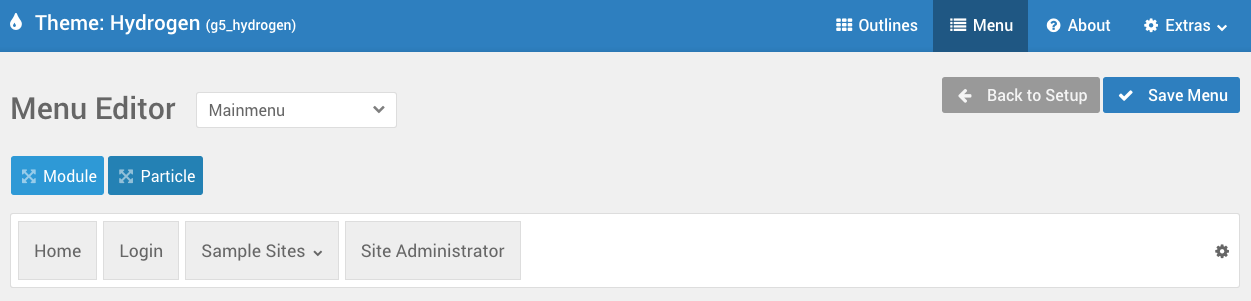
The first thing you will want to do is select the menu you wish to edit. This can be done using the dropdown located near the top of the Menu Editor administrative panel. These menus are sourced from your CMS' Menu Manager. If you want to create a new menu, you will need to do so using the Menu Manager for your particular CMS.
When you have done this, simply select it in this dropdown and its contents will load, ready for you to work with.
If you would like to change which menu loads in a Menu Particle on the front end, you will need to set this in the menu Particle's settings. Switching between menus here only enables you to access the menu's settings, and does not assign the menu to any particular Particle.
Menu Settings
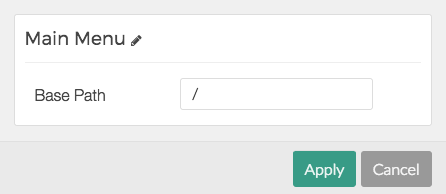
The menu itself has a settings icon (cogwheel) on the right-hand side which gives you the option to access settings that relate to the menu as a whole. These settings may differ between content management systems (CMS).
One common setting is the Base Path which sets the base path by which the menu is rendered. For example, if you would like the menu to render on the front end from the /blog directory down, rather than the full menu as provided by the CMS, this is where you would set it.
Keep in mind that within the Menu Particle, you can further refine this, setting a Base Path as well as the Start Level and End Level which comes in handy when creating a split menu.
In cases where you want to have multiple columns on a drop-down, you may experience issues where your dropdown only displays a single column. If this happens, you can resolve it by setting the Dropdown Style setting to Extended or Default and the Dropdown Width to either Auto or to a specified width large enough to accommodate your columns.
Menu Item Settings
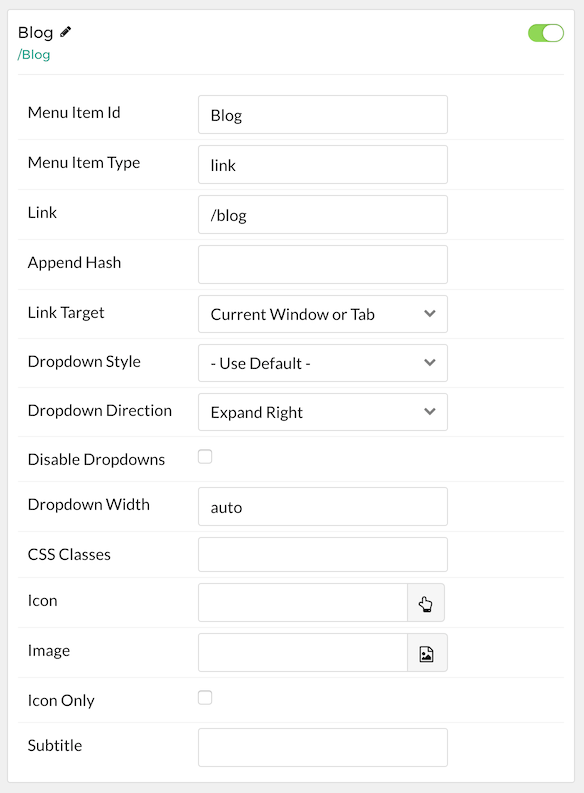
Each menu item has a set of settings which can be configured to meet your needs. These may vary slightly between CMS, but have the same basic functions. You can activate the Menu Item settings by selecting the cogwheel icon on the right-hand side of the menu item itself.
Here is a breakdown of these settings and what they can do.
| Menu Item Setting | Description |
|---|---|
| Menu Item ID | This is the ID specific to the menu item. |
| Menu Item Type | Sets the type of menu item, controlling how it behaves and the role it plays in the menu. |
| Link | The link (relative or absolute) to which the menu item directs the user upon being selected. |
| Append Hash | If you'd like to append a hash at the end of the URL, you can add that hash here. |
| Link Target | Sets the target window behavior for the link. You can set it to either open the link in a new window, or the current one. |
| Dropdown Style | Sets the style of dropdown for sub-menu items that appear under this particular menu item. |
| Dropdown Direction | Set the direction you'd like the dropdown to lean. |
| Disable Dropdowns | If checked and the item has dropdowns, they will not be rendered. |
| Dropdown Width | Set the width of the dropdown. Can be set to Auto. |
| CSS Classes | Enter any CSS class(es) you wish to have apply to the item. |
| Icon | Powered by FontAwesome, this feature gives you the ability to add a vector icon to your menu item as it is displayed in the menu. |
| Image | Insert an Image to the item. |
| Icon Only | If selected, only the icon will render. |
| Subtitle | Enables you to enter a subtitle, displayed below the menu item's title. |
Once you have set the settings as you prefer, simply select Apply to save the changes and close the pop-up.
These settings expand on the capabilities of the CMS’ integrated menu system, enhancing them with additional functionality and customization options - but only in cases where the CMS does not already provide this feature and changing these options does not have an adverse affect on the menu's functionality.
In Joomla, for example, the Menu Item ID, Menu Item Type, and Link are provided by the CMS. Images can be as well, but overriding them in the Menu Editor is a visual change rather than a functional one, so you should be able to adjust this setting without issue.
In cases where you want to have multiple columns on a drop-down, you may experience issues where your dropdown only displays a single column. If this happens, you can resolve it by setting the Dropdown Style setting to Extended or Default and the Dropdown Width to either Auto or to a specified width large enough to accommodate your columns.
Menu Item Types
-
1
There are six types of menu items in the Menu Editor. Here is a breakdown of what five of these types are, and the role they play in the menu.
| Menu Item Type | Description |
|---|---|
| Link | A link directs the user to an internal link within the site. |
| Alias | An alias points to another Menu item. |
| External URL | This type of menu item points directly to an external URL. |
| Separator | Non-clickable menu item that carries a name, usually used for top-level menus with one or more sub-menus. |
| Heading | A non-clickable menu item that contains text only. |
The sixth type of menu item, which is added and configured in the Menu Editor are Particles. This will allow you to do things like create a block of information that appears in the menu.
In cases where the Menu Item Type is supplied by the CMS, this may not be editable via the Menu Editor as it would conflict with the CMS' settings.
Module/Widget Injection
Injecting modules into your menus is easy with Gantry's Menu Editor. Above the menu in the editor are two buttons. One labeled Module and the other Particle. The Module tool can be clicked and dragged to your menu, bringing up a popup (pictured below) that enables you to select from your site's modules and have one appear within the menu.
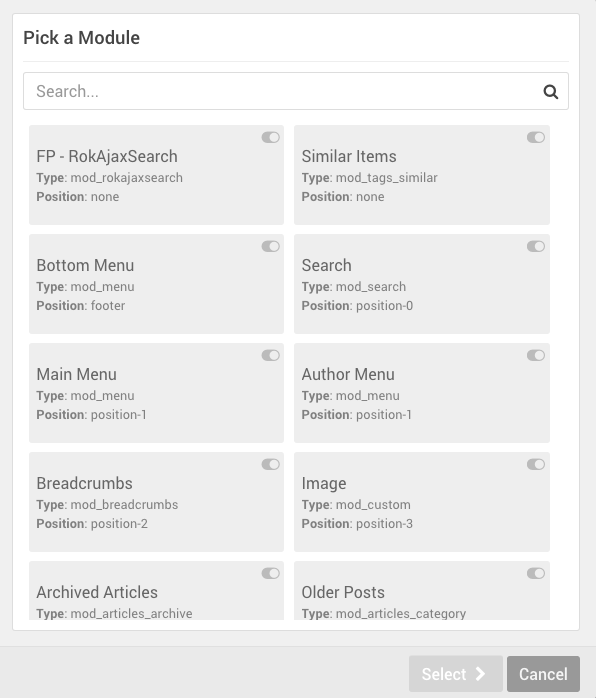
This popup has a lot of useful information to help you find the module you are looking for. A search bar located at the top enables you to quickly narrow down your search while the module buttons themselves provide you with information on the module's name, published status, type, and assigned position.
You do not have to assign your modules to any positions to make them work in the menu. By adding the module using the Menu Editor, the module is rendered on the front end as though the module has been assigned to a position within the menu. However, you need to make sure that the module is assigned to display either on all or on certain pages only via the module's menu assignments settings, or else the module may not render.
Practical Example
In this example, we will add a RokAjaxSearch module to the menu. You will need to have RokAjaxSearch installed on your Joomla instance, as well as a module created using Joomla's Module Manager. You do not have to have the module assigned to any specific position for this to work.
Then, from the Gantry Menu Editor, click and drag the Module item to your menu where you would like to have it appear in the menu. You can always adjust its positioning later on by clicking and dragging the menu item.
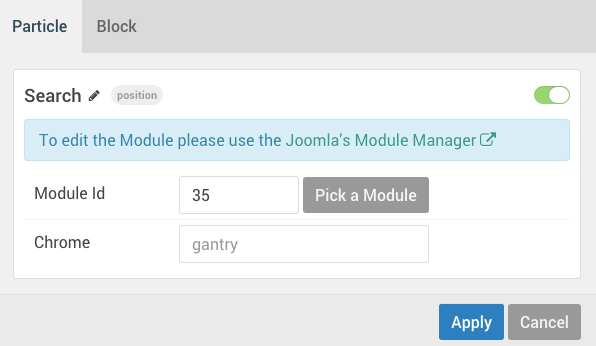
At this point, you can further refine this module in a popup that appears, giving you access to adjust the module's Module ID and Chrome settings. You also have access to the same Block settings found in Particles, including CSS Classes and Tag Attributes.
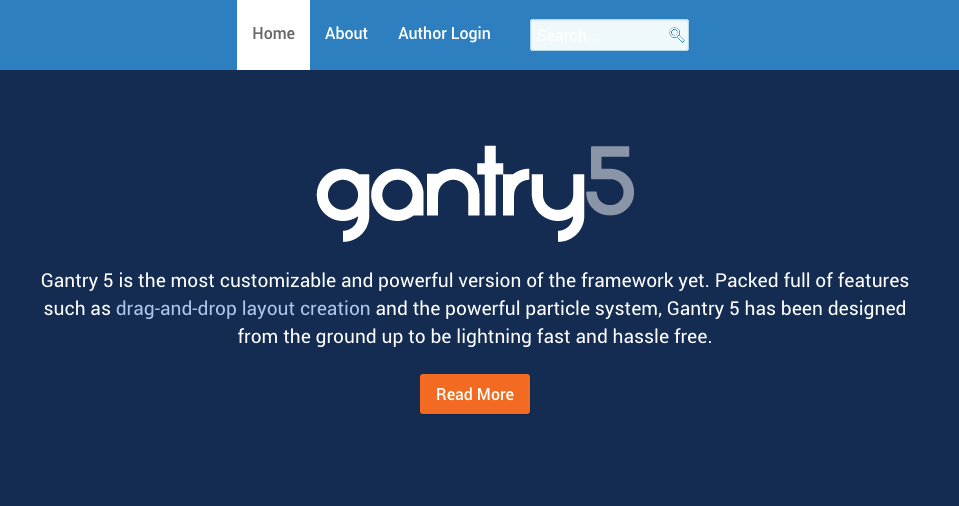
Once you have configured your module and set up any additional styling (if required) to make it look great with your menu, you can save your menu and take a look at it on the front end.
Coming soon...
Grav does not currently support module injection.
Particle Injection
Particle injection is possible in the Gantry Menu Editor, enabling you to add Particles to your menu with the same simplicity you can experience from the Layout Manager. The first step involves clicking the Particle button and dragging it to your menu where you would like it to appear. Just like any menu item, its position can be changed at any point by clicking and dragging it.
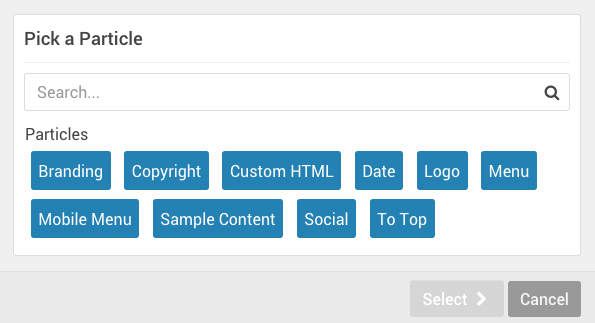
The popup that appears enables you to both search for and select a particle to use in your menu. Simply click the particle and Select it.
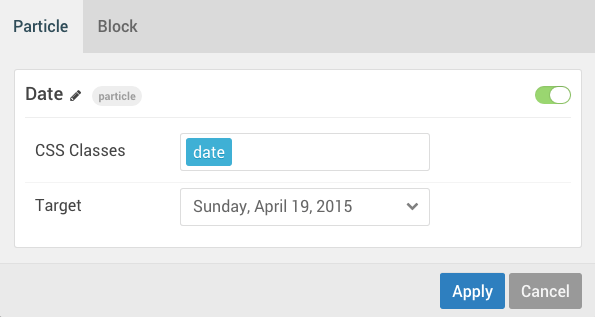
From here, you are taken to the same particle settings popup you see in the Layout Manager as well as in the outline's Particle Defaults administrative panel. In this example, we are adding a Date Particle which displays the current date.

Once you have set up the Particle as desired, simply save your menu and check the front end to see the Particle in your menu.