Installation
The Gantry framework itself is independent of any theme. Each Gantry-enabled theme relies on the Gantry framework to provide the underlying base and extensive functionality that enables the creation of such powerful sites. While a Gantry-powered theme does require the Gantry framework to work properly, Gantry is not inherently built into the theme, itself.
Downloading Gantry
Gantry requires two major parts to function. The first is the Gantry framework itself, a collection including the Gantry component, library, and associated plugins. This is the base by which the second part, a Gantry-powered theme functions.
- Gantry 5: This contains the Gantry 5 framework and its associated bits and pieces (library, component, and plugins).
- Theme: This contains just the theme/template.
The installation process is exactly the same for each of these. The only difference is the file you are installing. The Gantry 5 component should be installed prior to a Gantry theme.
Installing the Gantry Framework
Install the Gantry Framework package file (named similarly to pkg_gantry5-v5.3.0.zip) by navigating to Extensions → Extensions Manager → Install and selecting the Choose File button. Locate the downloaded ZIP and click Upload & Install to begin the installation process.
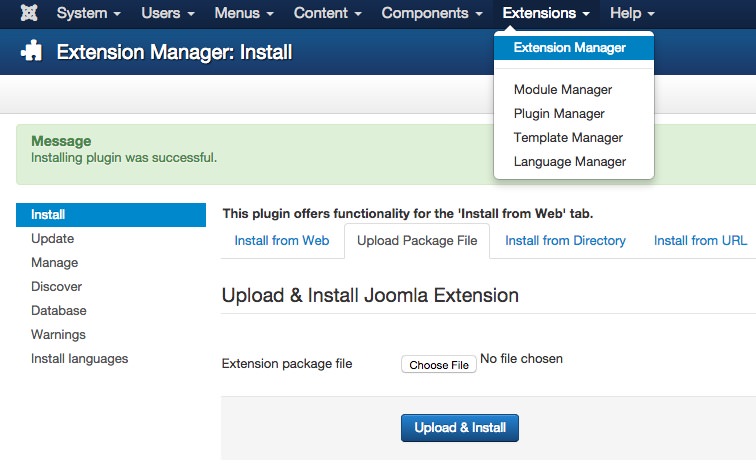
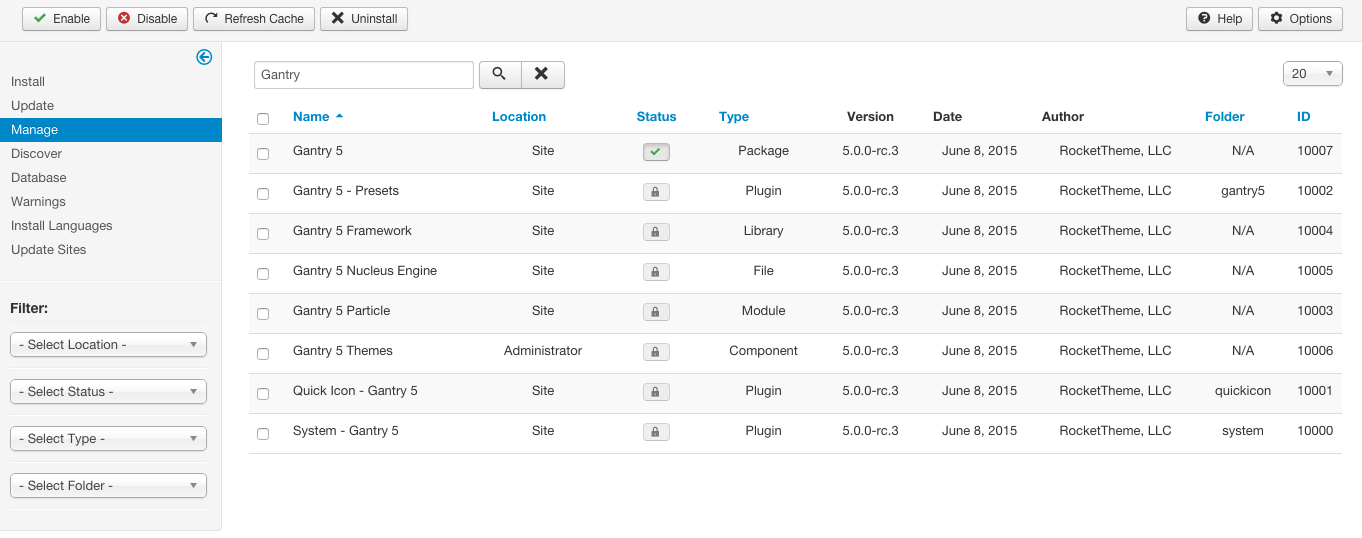
After installing the Gantry Framework package, all of the Gantry extensions will appear in the Extensions Manager.
If you are having any issues, including the following error messages:
Failed to load 'g5_hydrogen' template: Please install Gantry5 Framework!Error - Please install Gantry5 Framework!Error - Gantry5 Templates: Please enable 'System - Gantry5 Framework' plugin!
You will want to make sure that all of Gantry's associated extensions are enabled. To do so, simply select any non-enabled extensions listed in the image above, and activate them by selecting the Enable button in the upper-left area of the Extensions Manager.
To install the Gantry plugin, you'll need to navigate to Plugins → Add New in the admin area of WordPress. One easy way to find this area is to navigate to Plugins in your sidebar, then select the Add New button next to the title of the page.
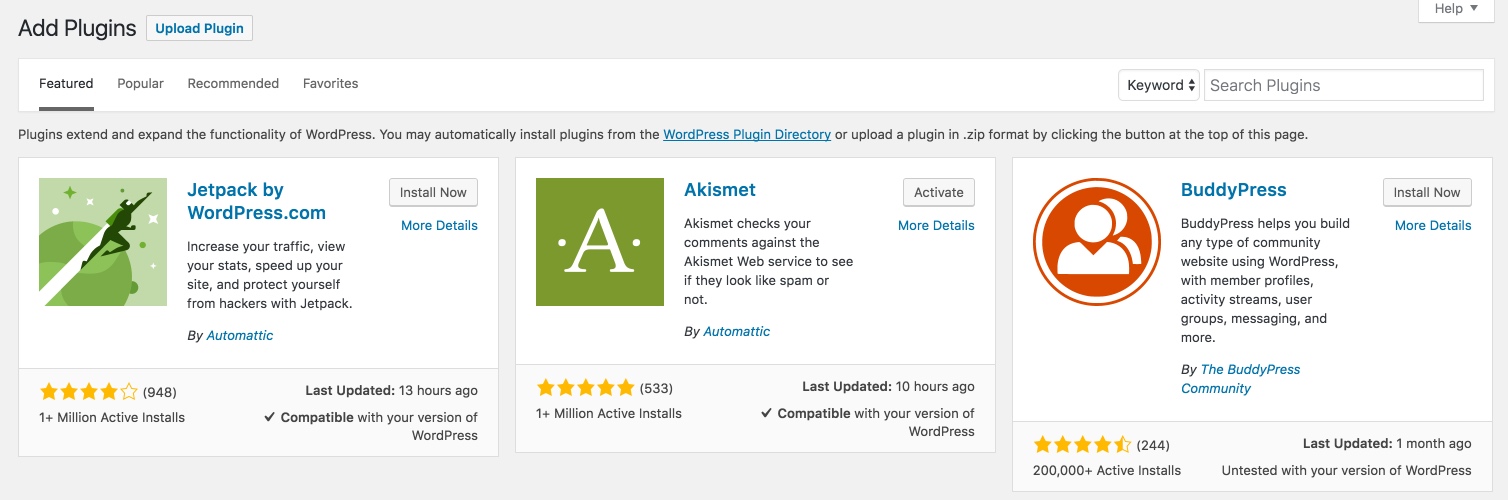
The next step is simple. Use the Search Plugins field at the right-hand side of the page to search for Gantry. This will enable you to find the Gantry 5 Framework plugin.
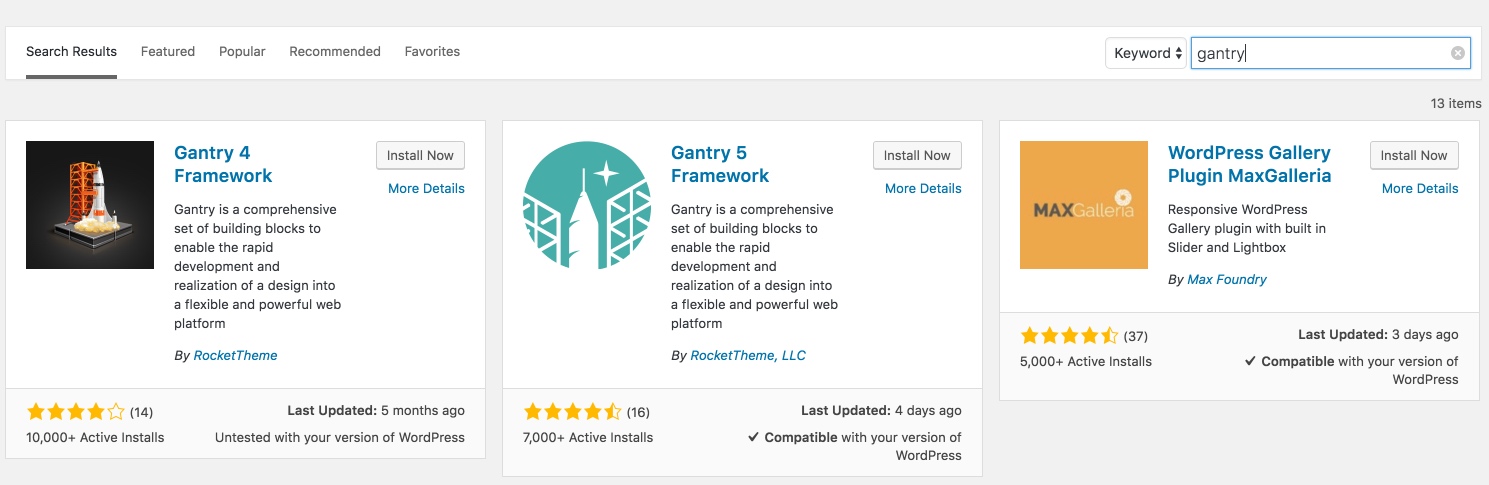
The next thing you will need to do is select the Install Now button on the Gantry 5 Framework plugin's box. Make sure you are installing Gantry 5 and not Gantry 4.
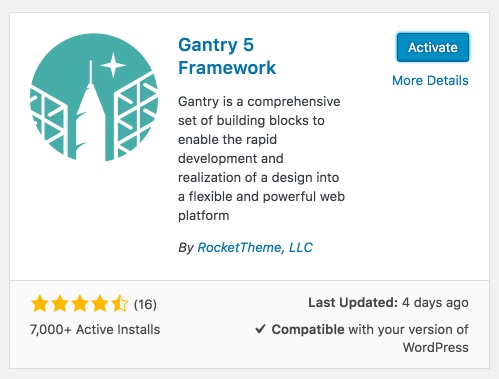
Once installation is done, select the Activate button to turn the Gantry 5 plugin on. This button will appear in the same place the Install Now button was before.
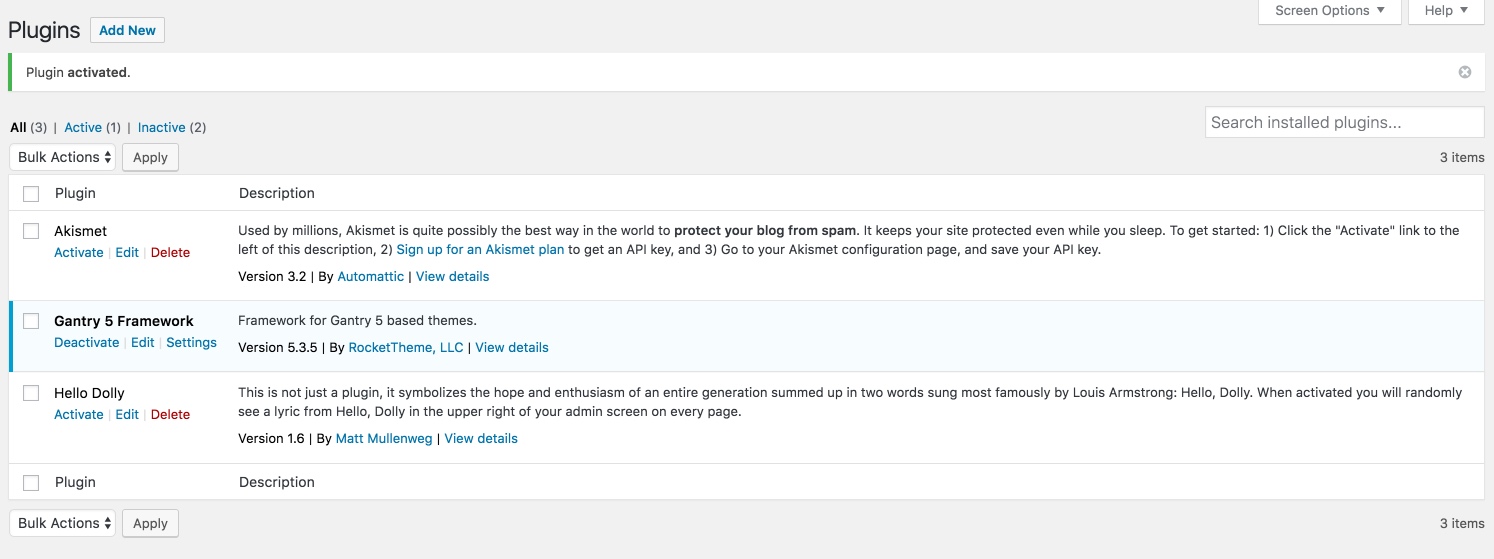
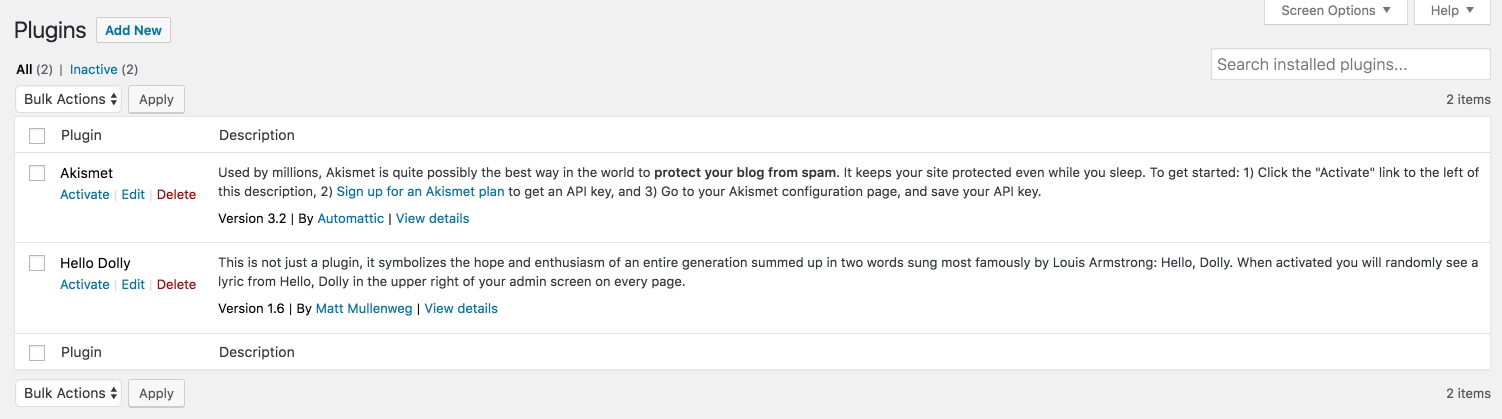
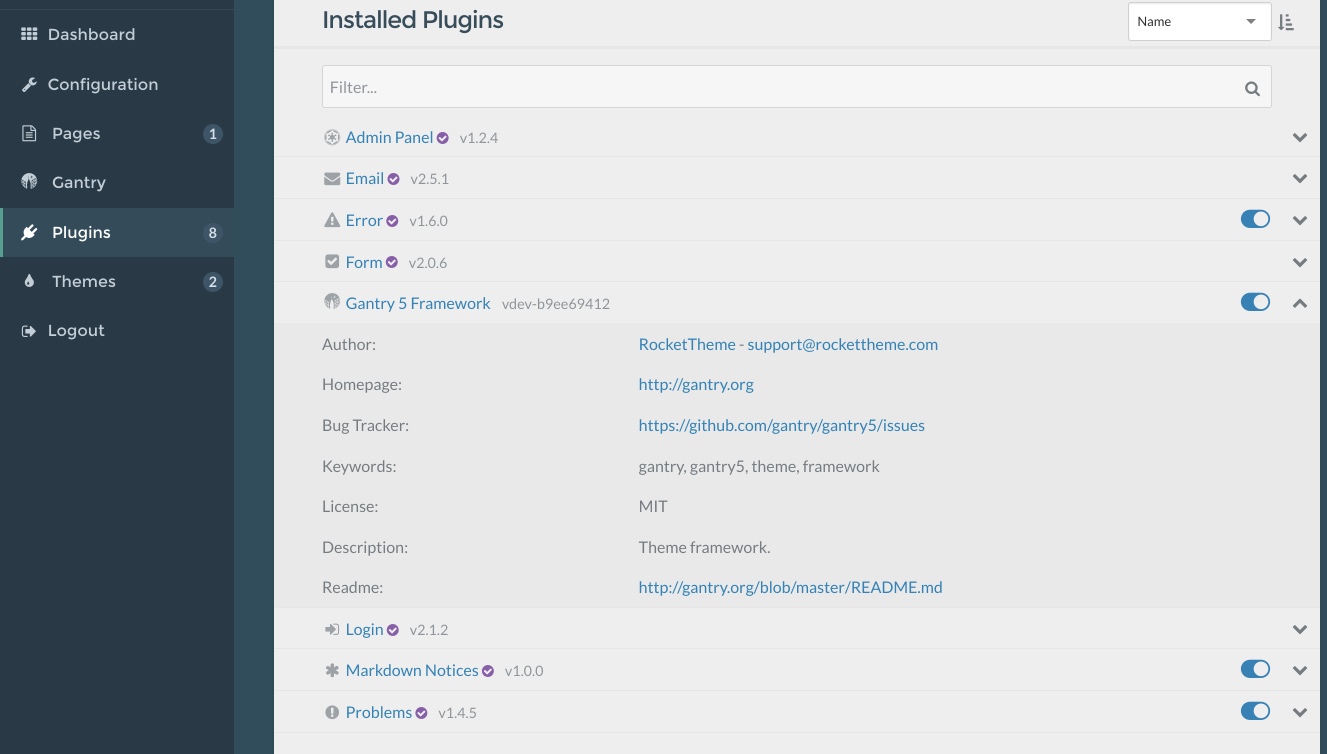
Gantry 5 will now appear in your Installed Plugins list.
As of Gantry 5.3.5, Gantry 5 no longer requires that you separately install the Timber plugin. This plugin is now included in the Gantry 5 installation by default and enables WordPress to work with Twig templates. You can find more information about Timber on the project home page.
There are four primary ways to install Gantry 5 on Grav.
Grav Administration Panel Methods
Method A: Themes Panel
The first and easiest method involves installing the Gantry 5 plugin via the Grav Administration Panel. To do this, you will need to have the Admin plugin installed and active in Grav. If you do, you can access the plugin installation page by navigating to Admin > Plugins and selecting the Add button in the upper-right area of the page.
Here, you can either scroll and find the plugin titled Gantry 5 Framework or search for it using the Filter field.
Once you have found the Gantry 5 Framework plugin, simply select the Install button for it and begin the installation process. A popup will ask you if you want to Cancel or Continue the installation. Just select Continue to install.
Method B: Tools Panel
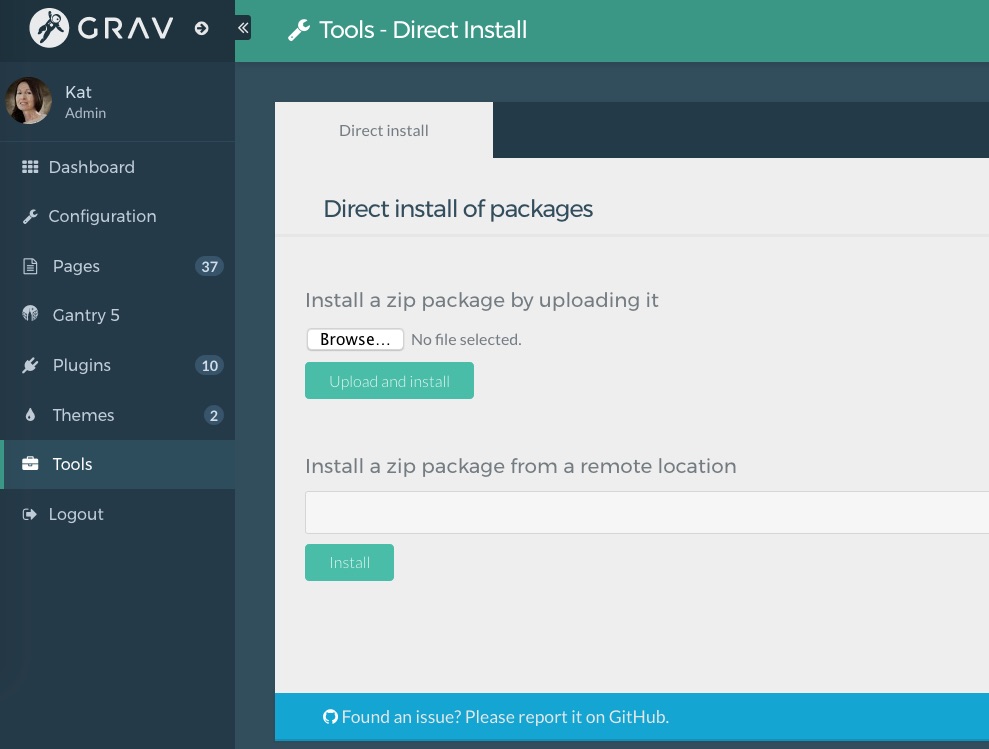
The second way to install theme packages (zipped) involves the Tools panel. Here, you can load a zipped package using the Install a zip package by uploading it option. Alternatively, if you have a remote (direct) URL to the file, you can enter it into the Install a zip package from a remote location field and select Install.
File Management Method
If you prefer not to use the Grav Admin and have access to your server's file system, you can easily install the Gantry 5 Framework by downloading the latest version of the framework from Gantry.org and unzipping it in your user/plugins directory. This should create a new directory titled gantry5 containing all of the framework's associated files.
Once you have done this, it should automatically be active and available.
Command Line Method
Part of what makes Grav so appealing to developers is its powerful command line tool set. Among these tools is the Grav GPM installer that enables you to install plugins with a single command.
All you need to do to take advantage of this feature is to open or access a command prompt on your server, navigate to the root of your Grav website, and enter the line bin/gpm install gantry5. This will initiate the installation process. You can see a video of the GPM installer in action above.
Once you have initiated and confirmed installation, the Gantry 5 Framework should be installed and available for use.
Installing a Gantry Theme
Install at Extensions → Extensions Manager → Install. Select the Choose File button, locate the downloaded ZIP and click Upload & Install to begin the installation.
The Gantry template will appear in the Template Manager, and all Gantry extensions will appear in the Extensions Manager.
Themes made on Gantry 5 install just like any other WordPress theme. The difference here is that you really want to have the Gantry framework installed and activated first, otherwise the theme itself won't be of much use.
To install the theme on WordPress, simply navigate to Admin → Appearance in the sidebar and select the Add New button at the top of the Themes page.

This will take you to the Add Themes page with another button on top called Upload Theme. Click it.
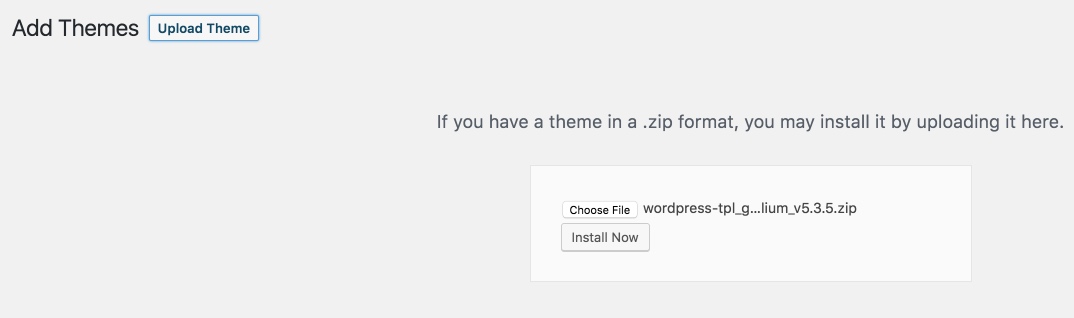
Use the Browse... button to select the zip file for the theme you wish to install and select Install Now.

The theme should now be installed. You can Activate it using the shortcut provided.
Installing a Gantry 5 theme on Grav is easy. There are a few ways to do it.
Two of these methods (Administration Panel and Command Line) depend on the theme being listed in Grav's Themes Repository. These themes are generally free, open source, and listed on the official Grav website.
For the interest of this guide, we will use Helium as our theme of choice. It is a great free default theme for Gantry 5.
Grav Administration Panel Method
The first and easiest method involves installing the theme via the Grav Administration Panel.
To do this, you will need to have the Admin plugin installed and active in Grav. If you do, you can access the plugin installation page by navigating to Admin > Themes and selecting the Add button in the upper-right area of the page.
Here, you can either scroll and find the theme titled Helium or search for it using the Filter field.
Once you have found the Helium theme, simply select the Install button for it and begin the installation process. A popup will ask you if you want to Cancel or Continue the installation. Just select Continue to install.
File Management Method
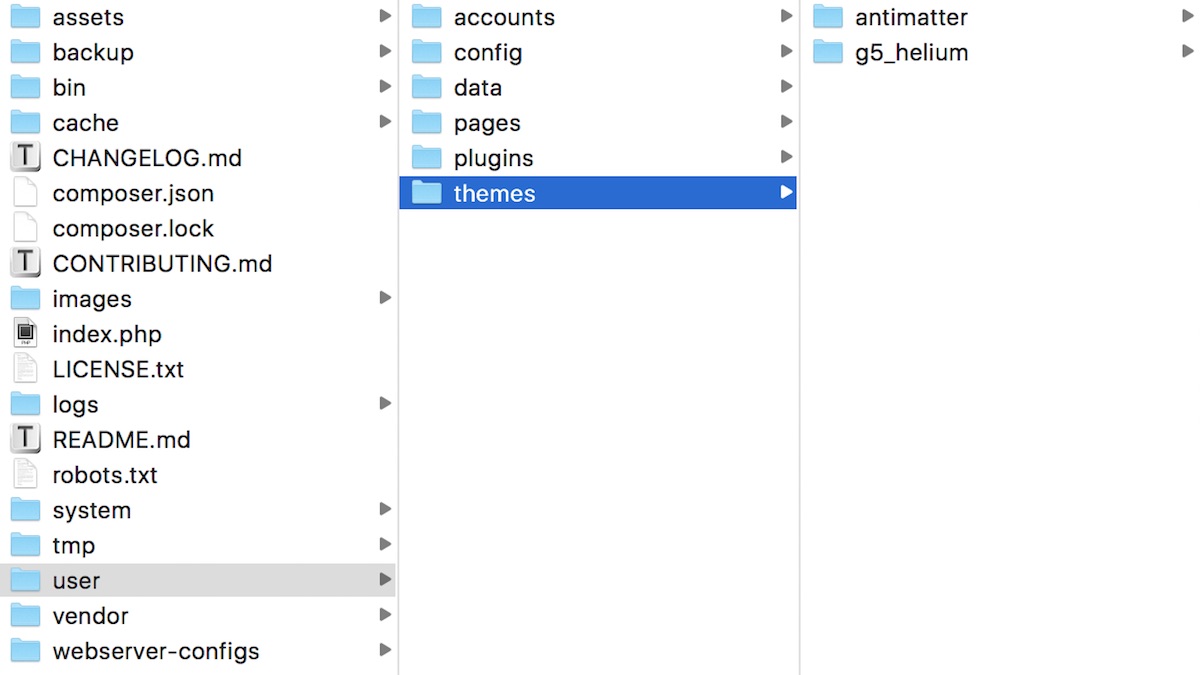
If you prefer not to use the Grav Admin and have access to your server's file system, you can easily install a theme by downloading its zip file and unpacking it in your user/themes directory. This should create a new directory for the theme (for example: user/themes/g5_helium) containing all of the theme's associated files.
Once you have done this, it should automatically be available.
Command Line Method
You can install any theme that is listed in Grav's theme directory using the Grav CLI GPM. This enables you to enter a single command in your command line / terminal and have it install automatically.
We will use Helium as an example since it is a freely-available default theme for Gantry 5 on Grav.
All you need to do to take advantage of this feature is to open or access a command prompt on your server, navigate to the root of your Grav website, and enter the line bin/gpm install helium. This will initiate the installation process. You can see a video of the GPM installer in action above.
Once you have initiated and confirmed installation, the Helium theme should be available to you.
Setting a Gantry Theme as Default
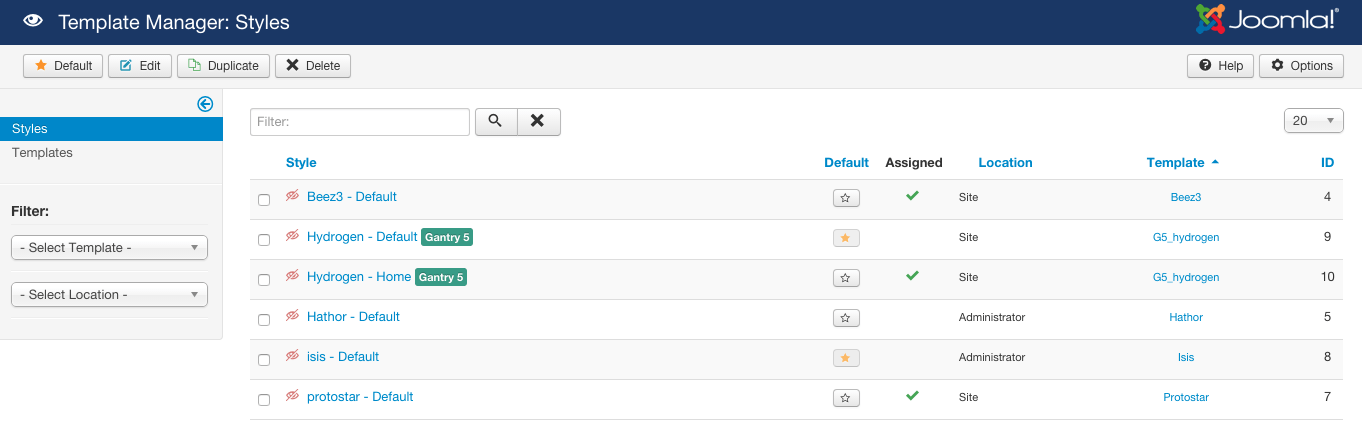
If you are using the Gantry template, you will want to set it as the default template so it loads on the front end. Go to Extensions → Template Manager, select the gantry checkbox, and click Default in the button toolbar.
For some Gantry-powered templates, this will happen automatically upon installation. This is a time-saving step intended to speed up deployment and reduce confusion for new users.
Your Gantry-powered theme will be set as default upon activation. You can activate your theme during installation by selecting Activate from the shortcuts at the bottom of the installation screen.
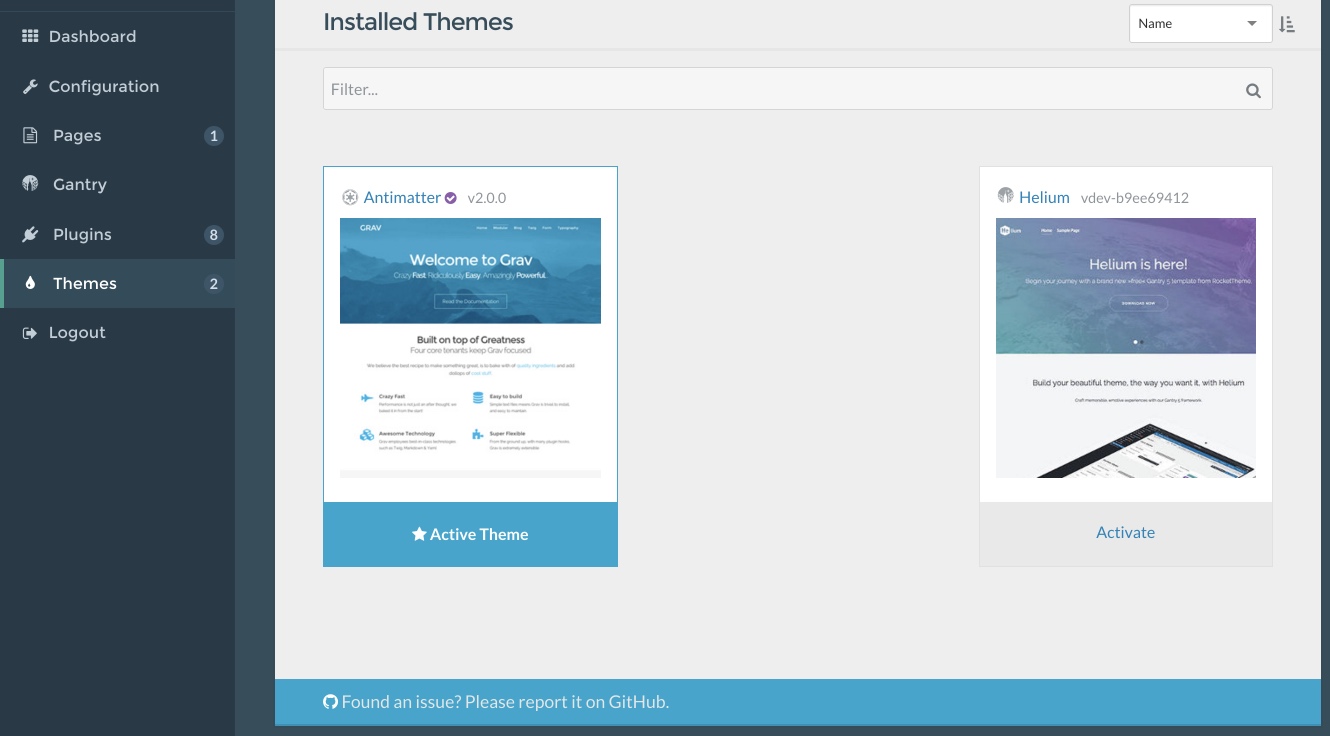
You can also activate a theme by navigating to Admin → Appearance and selecting Activate in your desired theme's box.
Setting a theme as active in Grav is easy to do. There are two primary ways to achieve this.
Grav Administration Panel Method
The first, and most popular method involves using the Grav Administration Panel to switch the active theme to Helium. You will need to have the Grav Administration Panel installed and active. Once it is, simply navigate to Administration > Themes and select Activate for the theme you would like to make active.
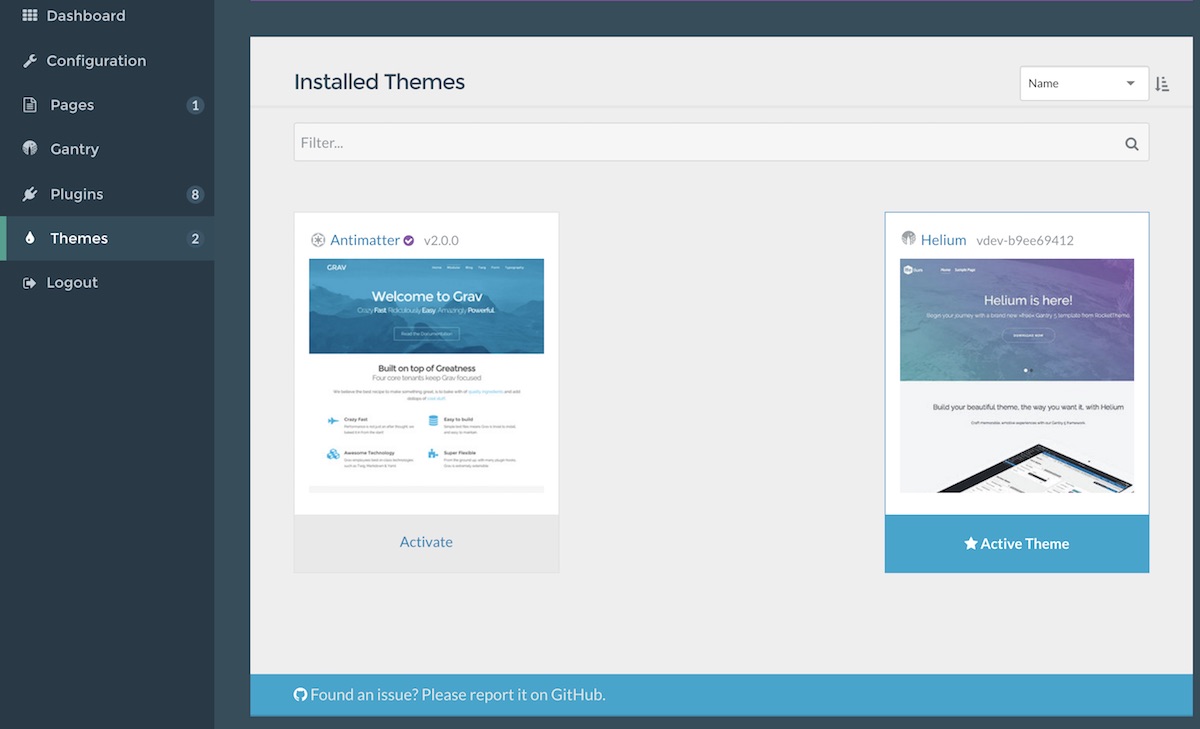
The Activate button will turn blue and the text will change to Active Theme indicating the theme is now active.
YAML Configuration Method
You can also set a theme to active by editing the YAML configuration file for your site. You can access this file by navigating to user/config/ and opening the system.yaml file. This file contains human-readable configuration information for your site.
Here are the lines you will need to focus on for this edit:
pages:
  theme: antimatter
All you need to do is change the assigned theme to the one you wish you activate. In this case, we will use g5_helium as that is the name of the directory in user/themes for the Helium theme.
pages:
  theme: g5_helium
Once you have done this, simply save the file and refresh your home page. Your new theme should now be active.