Overriding Particle Settings
Particles are extremely flexible. You can access their settings on several levels and modify their defaults for the whole site, a specific outline, or even an instance in the Layout Manager or Menu Editor.
Particles each come with their own set of default settings which may or may not be configured in the Particle's YAML file. These defaults are then inherited by the Base Outline in the Particle Defaults panel. From there, you can modify these defaults within the Base Outline, Sub Outlines, and even in the specific particle instance as it appears in the Layout Manager, Menu Editor, Module or Widget.
Here is a quick breakdown of the different inheritance levels of a Particle.
| Level | Description |
|---|---|
| Particle YAML File | Any defaults assigned in this file act as the absolute top-level defaults for the particle. These defaults are overridden by any changes made in the Base Outline, Sub Outlines. |
| Base Outline Particle Defaults | Changes made in the Particle Defaults panel in the Base Outline become global defaults for the site. |
| Non-Base Outline Particle Defaults | The Particle Defaults panel at this level sets defaults for the particle as it exists in that particular outline, affecting only that outline. |
| Individual Particle Particle Defaults in Layout Manager, Menu Editor, module or widget | Changes made at this level are the overridden settings for the particle in only this instance or any directly inherited instances. |
In short, inheritance for particle settings goes like this: Particle YAML File > Base Outline Particle Defaults > Non-base Outline Particle Defaults > Individual Instance with each step inheriting and/or overriding settings from the previous one.
Base Outline Particle Defaults Panel
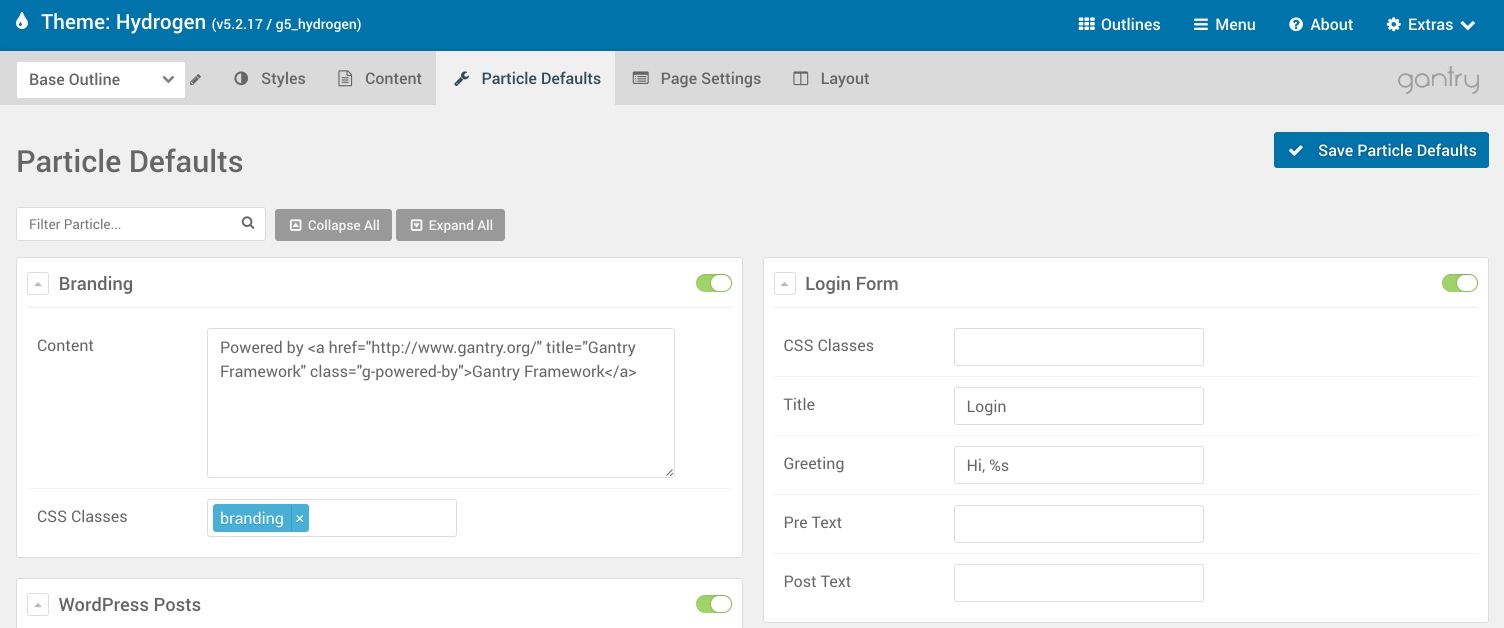
Within the Base outline, you can set global default settings for any Particle in the Particle Defaults administrative panel. Settings placed here become the global defaults that apply to every outline and individual Particle instance unless overridden. This is where you would place your most commonly used settings for a given Particle.
For example, if you want your logo Particles to use the same source image across all of your pages except one or two, you would set that image here and override it using either the non-Base Outline settings applied to those exception pages, or in the individual Particle instances in the Layout Manager.
Non-Base Outline Particle Defaults Panel
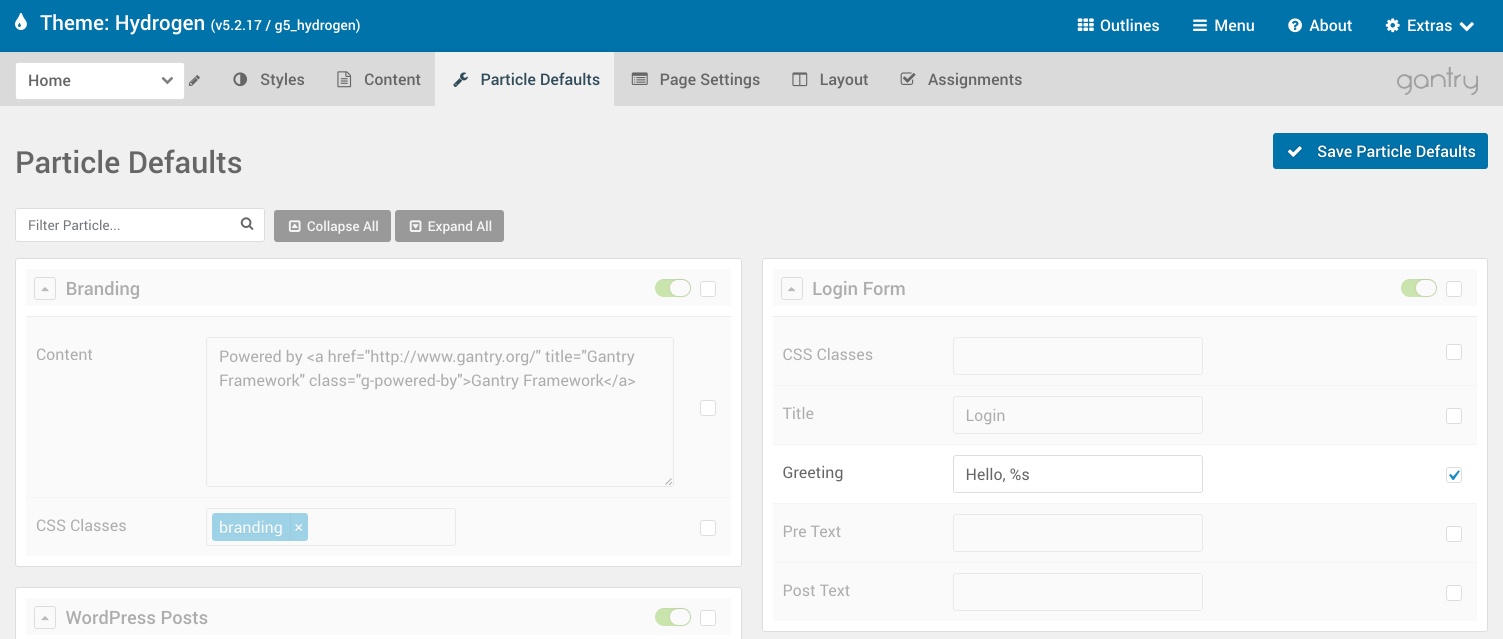
Within outlines that are not set as the default, you may notice that the Particle Defaults administrative panel has grayed out the Particle Defaults for most (if not all) of your Particles. By changing a setting and/or selecting the checkbox on the right-hand side of the settings box for that Particle, you can override the default settings for the outline.
Now, every Particle placed in the Layout Manager for that particular outline will have these new settings by default.
Individual Particle Settings in Layout Manager
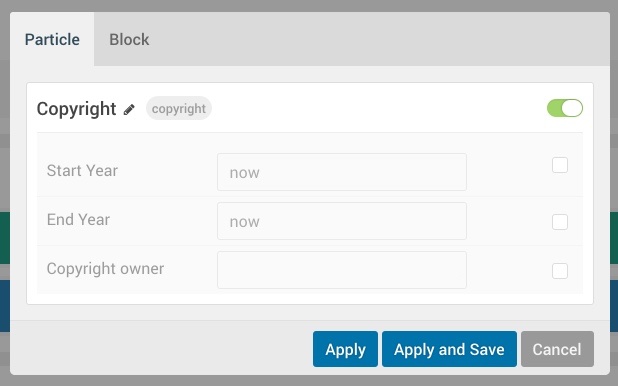
When you place a particle in an outline's Layout Manager, you create an instance. That instance enables you to adjust the Particle settings for that specific particle, affecting no other instances of that Particle. If, for example, you wanted to have the logo appear differently in one instance, you would change its settings here.

In the example above, we changed the Start Year for the particle using its settings panel in the Layout Manager. The checked box to the right of the field indicates that it is being overridden while the other fields remain gray and unchecked. Those settings are being inherited from higher default levels.
You can access these instance-specific settings by selecting the cogwheel on the right-hand side of the Particle within the Layout Manager.
Overriding Particle Source Files
Sometimes, the changes you want to make to a particle require modifying the source files that make up the file. The source for all Particles includes Twig and YAML files.
In this example, we will add a link to the Copyright Particle that goes directly to the home page of the site from the name of the copyright holder. This is just a small example of what you can change.

In the image above, you will see the Copyright Particle on the left-hand side. There are no links or anything included in the core Particle. If you wanted to have the name of the copyright-holder become a link to that copyright holder's website, you can add a few simple changes to the Particle's source files.
The first thing you will need to do is copy the copyright.html.twig and copyright.yaml files located in ROOT/media/gantry5/engines/nucleus/particles/ and paste the copies to TEMPLATE_DIR/custom/particles. If the particles directory does not already exist in your custom folder, you will have to create it.
The particle you're looking for might be located in a different place. For example, a template-specific particle that came with the template and is not core to Gantry can be found in /THEME_DIR/particles.
By duplicating the files and placing the copies in the custom folder, you are making your changes update proof. This ensures that your changes do not get wiped out when you update either the Gantry framework or the theme.
Anything you do to the duplicate particle files in your TEMPLATE_DIR/custom/particles folder will override what appears in the original file.
The first thing you will need to do is copy the copyright.html.twig and copyright.yaml files located in ROOT/wp-content/plugins/gantry5/engines/nucleus/particles/ and paste the copies to THEME_DIR/custom/particles. If the particles directory does not already exist in your custom folder, you will have to create it.
The particle you're looking for might be located in a different place. For example, a template-specific particle that came with the template and is not core to Gantry can be found in /THEME_DIR/particles.
By duplicating the files and placing the copies in the custom folder, you are making your changes update proof. This ensures that your changes do not get wiped out when you update either the Gantry framework or the theme.
Anything you do to the duplicate particle files in your THEME_DIR/custom/particles folder will override what appears in the original file.
The first thing you will need to do is copy the copyright.html.twig and copyright.yaml files located in ROOT/user/plugins/gantry5/engines/nucleus/particles/ and paste the copies to ROOT/user/data/gantry5/themes/THEME_NAME/particles/. If the particles directory does not already exist in this path, you will have to create it.
The particle you're looking for might be located in a different place. For example, a template-specific particle that came with the template and is not core to Gantry can be found in /user/themes/THEME_NAME/particles/.
By duplicating the files and placing the copies in the custom folder, you are making your changes update proof. This ensures that your changes do not get wiped out when you update either the Gantry framework or the theme.
Anything you do to the duplicate particle files in your ROOT/user/data/gantry5/themes/THEME_NAME/particles/ folder will override what appears in the original file.
Because we are adding a new field to the Copyright Particle, we will need to edit the YAML file. Here is what the copyright.yaml YAML file looks like before the changes.
name: Copyright
description: Display copyright information.
type: particle

form:
  fields:
    enabled:
      type: input.checkbox
      label: Enabled
      description: Globally enable the particle.
      default: true

    date.start:
      type: input.text
      label: Start Year
      description: Select the copyright start year.
      default: now

    date.end:
      type: input.text
      label: End Year
      description: Select the copyright end year.
      default: now

    owner:
      type: input.text
      label: Copyright owner
      description: Add copyright owner name.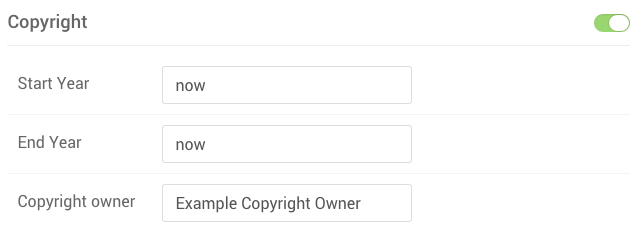
This creates the fields that appear in the Gantry Administrator's Particle Defaults panel, as well as in any instances in the Layout Manager where the Copyright particle has been placed. These settings are then linked to the Particle's Twig file. In this case, we are adding a link field so that users can add a link to the Particle.
We can create the link field by adding the following to the bottom of the YAML file.
    site:
      type: input.url
      label: Copyright Link
      description: Add the link to the copyright owner's site.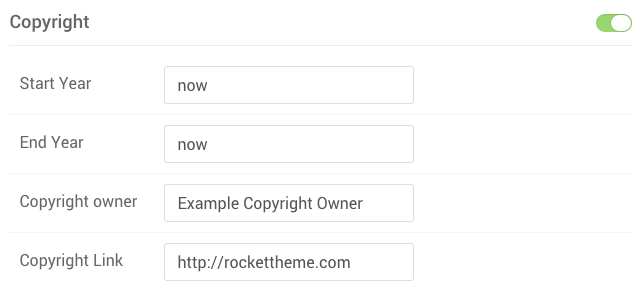
Now, you will notice that the new field appears on the back end.
The copyright.html.twig file also needs to be changed, in order to incorporate the new data and create the link. Below is the original Twig file's content:
{% extends '@nucleus/partials/particle.html.twig' %}

{% set start_date = particle.date.start|trim in ['now', ''] ? 'now'|date('Y') : particle.date.start|e %}
{% set end_date = particle.date.end|trim in ['now', ''] ? 'now'|date('Y') : particle.date.end|e %}

{% block particle %}
Copyright ©
{% if (start_date != end_date) %}{{ start_date|e }} - {% endif %}
{{ end_date|e }}
{{ particle.owner|e }}
{% endblock %}
The {{ particle.owner|e }} line needs to be altered to add the link based on the variable assigned via the YAML file. In this example, we will replace it with these three lines:
{% if particle.site %}<a href="{{ particle.site | default(gantry_base) }}">{% endif %}
{{ particle.owner }}
{% if particle.site %}</a>{% endif %}
Now, on the front end of the site, the Particle appears with a link over the name of the copyright owner. This is just a small example of what you can do to extend a Particle's capabilities using Twig and YAML.