Gantry Admin
The Gantry Admin is a collection of settings used to set up and configure a Gantry-powered theme. It acts as a central command center for pretty much everything and anything you need to change related to the theme, layout, presets, menu, and assignments.
You can reach the Gantry Admin by following these steps:
The first thing you will need to do is ensure that the Gantry Framework and a Gantry-enabled template is installed and active. You can find detailed step-by-step instructions for this in our guide.

Once this is done, navigate to Administrator → Extensions → Templates and select the Gantry-powered template you wish to configure. This should take you to the Overview section of the Gantry Admin for that template.
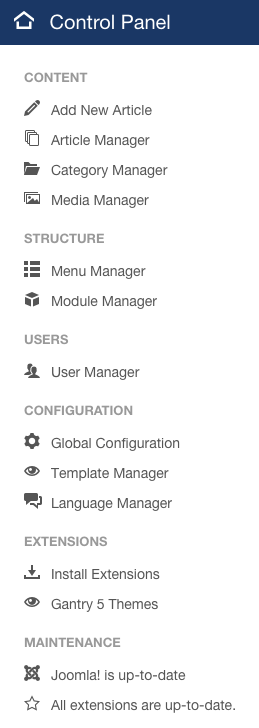
Alternatively, you can access the Gantry 5 administrator by navigating to the Control Panel in the backend of Joomla and selecting Gantry 5 Themes in the sidebar to the left under the Extensions section.
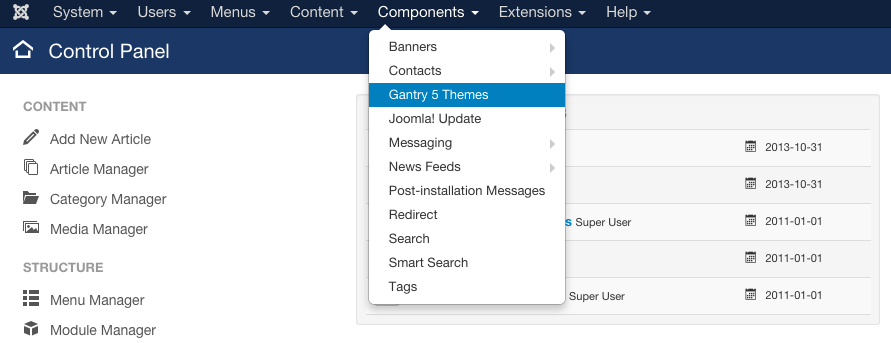
There is a third method, which is easily accomplished by navigating to Components → Gantry 5 Themes in the administration menu in the backend of Joomla.
The first thing you will need to do is ensure that the Gantry Framework and a Gantry-enabled theme is installed and active. You can find detailed step-by-step instructions for this in our guide.
Timber is a third-party plugin that enables WordPress to work with Gantry 5's system. Because Timber is installed with Gantry automatically, you don't need to install it separately for Gantry to work.

Once this is done, navigate to Administrator → (Theme Name) Theme. This should take you to the Overview section of the Gantry Admin for that theme.
The first thing you will need to do is ensure that the Gantry Framework is installed and active. You can find detailed step-by-step instructions for this in our guide.
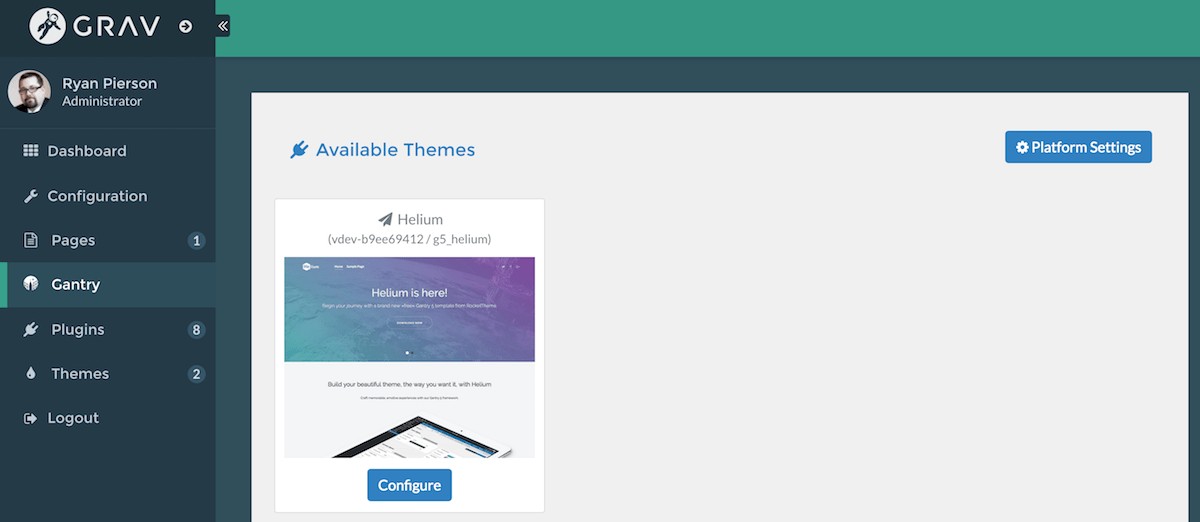
Once this is done, navigate to Administrator → Gantry 5 in the sidebar. Click on the Gantry logo. This should take you to the Available Themes section of the Gantry Admin. Here, you can choose the theme you wish to configure by selecting the Configure button.
Admin Panels
Each tab located near the top of the Gantry Admin gives the user quick access to various elements of the Gantry-powered theme's settings. These sections, referred to as Panels, make it easy to quickly navigate to the setting you need to adjust.
There are two different types of panels. The first, located along the very top of the Gantry Admin, are global settings which affect not only your selected outline, but the site as a whole. These include the Menu and About panels. Additionally, you can use the Outlines panel to manage and create new outlines for your site.
The second type of panels are available on the gray tabs bar and they enable you to refine settings for the presently-selected outline. These Outline-specific panels make it possible for you to give each page of your site a unique look, visually setting your front page apart from your About page, for example.
A quick description of each of these panels can be found below.
Global Admin Panels
The Global Admin Panels do not affect a single Outline, but have influence over the entire theme. These panels enable you to do things like switch between and edit individual Outlines, edit and configure the Menus, and find out more about the Gantry-powered theme.
Outlines
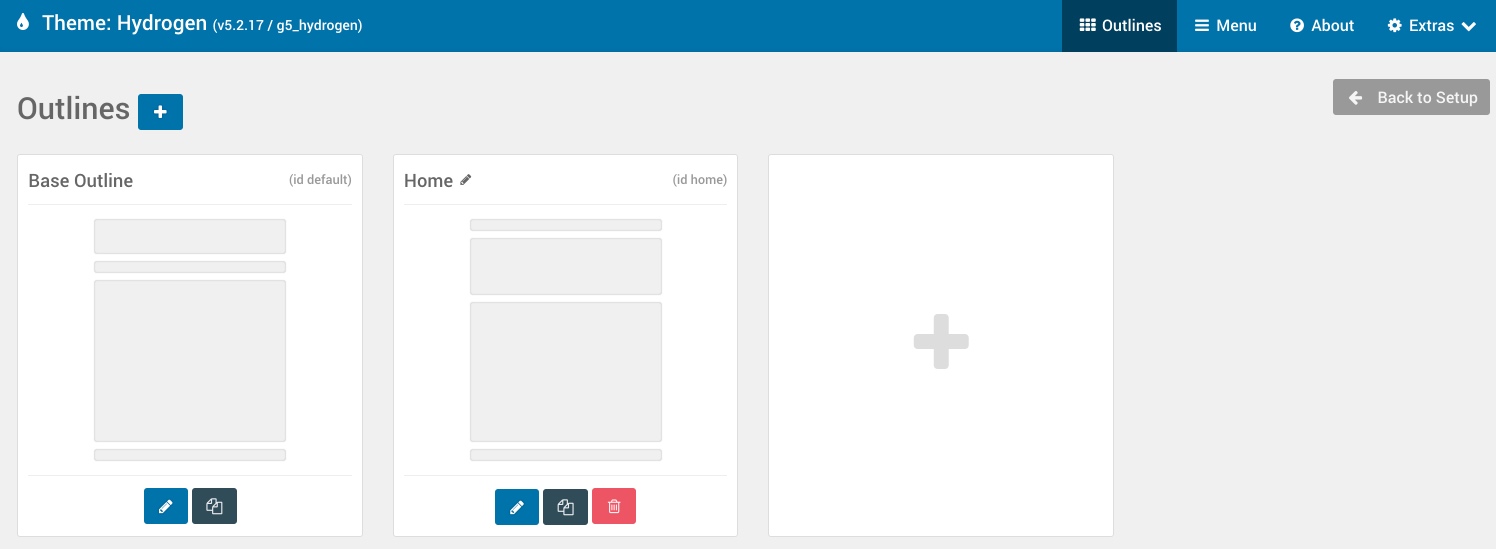
This panel is where you can manage and create new outlines, each with its own set of layout, style, assignments, and particle settings. There are two types of outlines, Standard and System.
Standard outlines can be created by the user, based on one of several available Layout Presets, and assigned to various page types to give them a unique layout and/or set of settings. Your Base outline acts as the Master outline did in Gantry 4, with all other outlines being overrides which enable you to change settings to meet the needs of a specific page.
System outlines are core outlines which are linked to specific page types, such as 404 or Offline. These outlines can be edited, but can not be created, renamed, or deleted, as they are core to Gantry.
You can switch to an individual Outline in two ways. This panel will enable you to set a specific Outline as active in the Outline-specific panels of the Admin by clicking their associated edit buttons. Alternatively, you can switch between them using the drop-down menu located on the left-hand side of the toolbar which hosts the outline-specific administrative panels.

Outlines can be renamed very easily, and in several different places. You can do so from the Outlines administrative panel, as well as from any outline-specific panel (Styles, Page Settings, Layout, and Assignments) by selecting the little pencil icon next to the Outline Selection dropdown.
Menu

The Menu Editor makes it easy to configure and add information to menus as they appear on your site. Virtually every aspect of the menu's appearance and arrangement can be altered from this panel.
The Gantry menu system grabs information from the CMS' own menu system, and creates an override that enables you to rearrange items and configure it the way you would like it to appear on the front end. These customizations are then served to the visitor. The changes you make to the menu does not impact the way the CMS uses the menu. If you need to make changes to page ordering or any other CMS-specific property, you will still need to do this from the native menu manager.
About

The About panel enables the theme developer to place information about the theme, such as a feature list and credits, as well as links to documentation and a reference screenshot. This is also where users can quickly find the currently-enabled theme name, version number, and developer information.
Page Settings

The Page Settings administrative panel gives you quick access to Global page settings that affect the site. These include Atoms, Body Attributes, Head Properties, and Assets such as the favicon and CSS/JavaScript you wish to have available to the page.
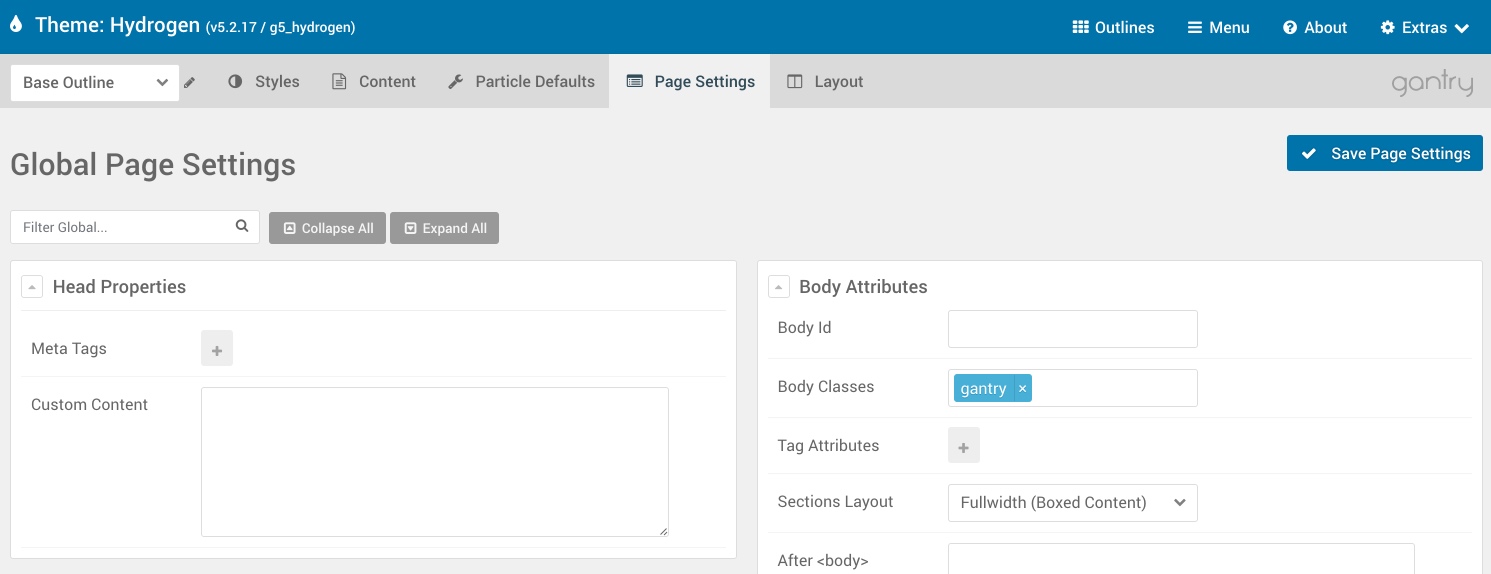
The Page Settings administrative panel gives you quick access to Global page settings that affect the site. These include Atoms, Body Attributes, Head Properties, and Assets such as the favicon and CSS/JavaScript you wish to have available to the page.
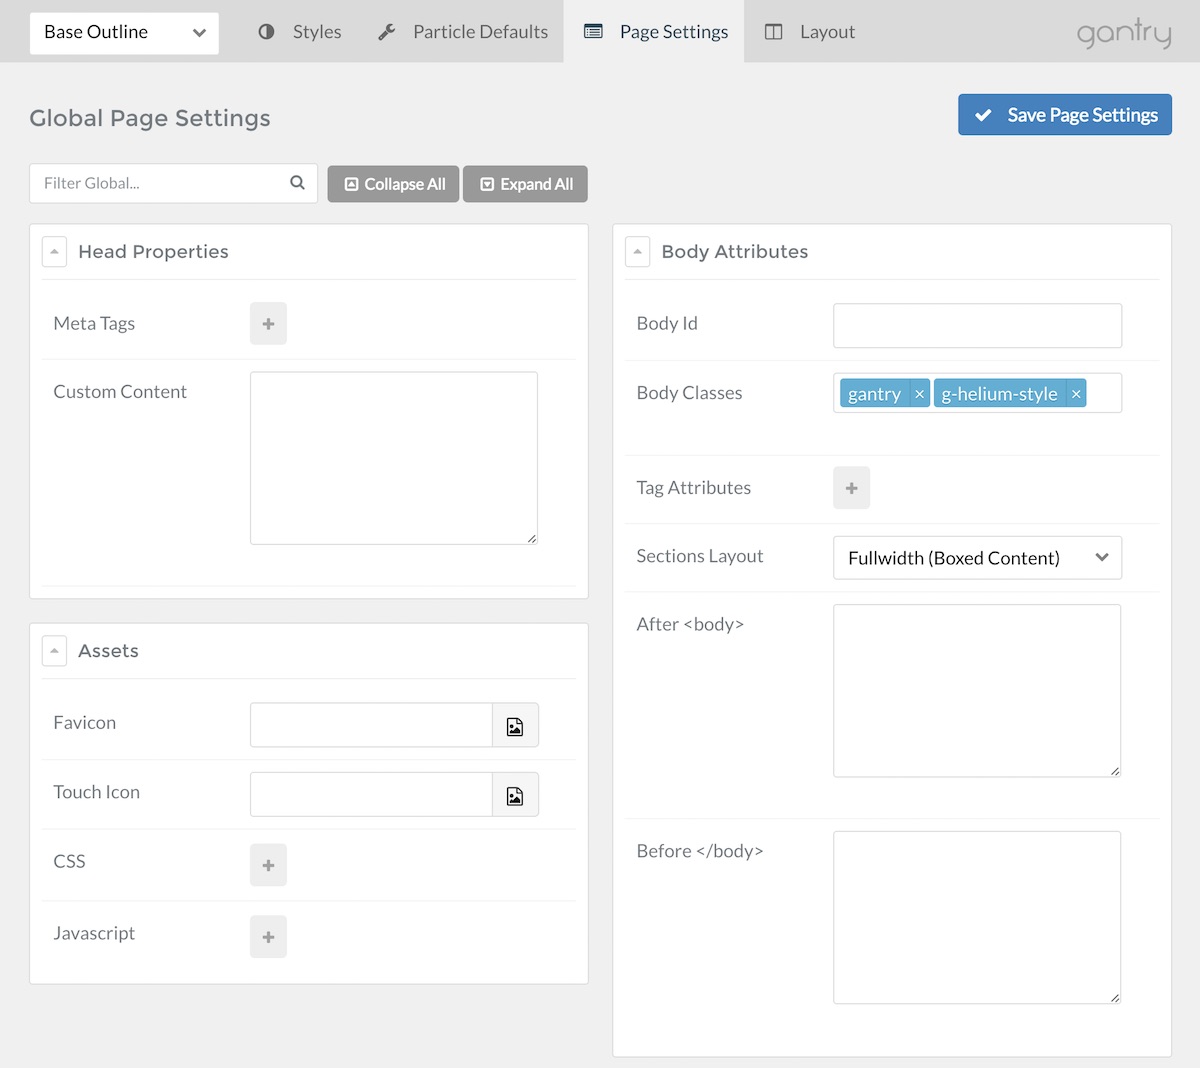
The Page Settings administrative panel gives you quick access to Global page settings that affect the site. These include Atoms, Body Attributes, Head Properties, and Assets such as the favicon and CSS/JavaScript you wish to have available to the page.
Outline-specific Panels
Outline-specific Panels offer users the ability to customize the layout, settings, and assignments of a specific outline. In Gantry 4, outlines were referred to as overrides.
Styles
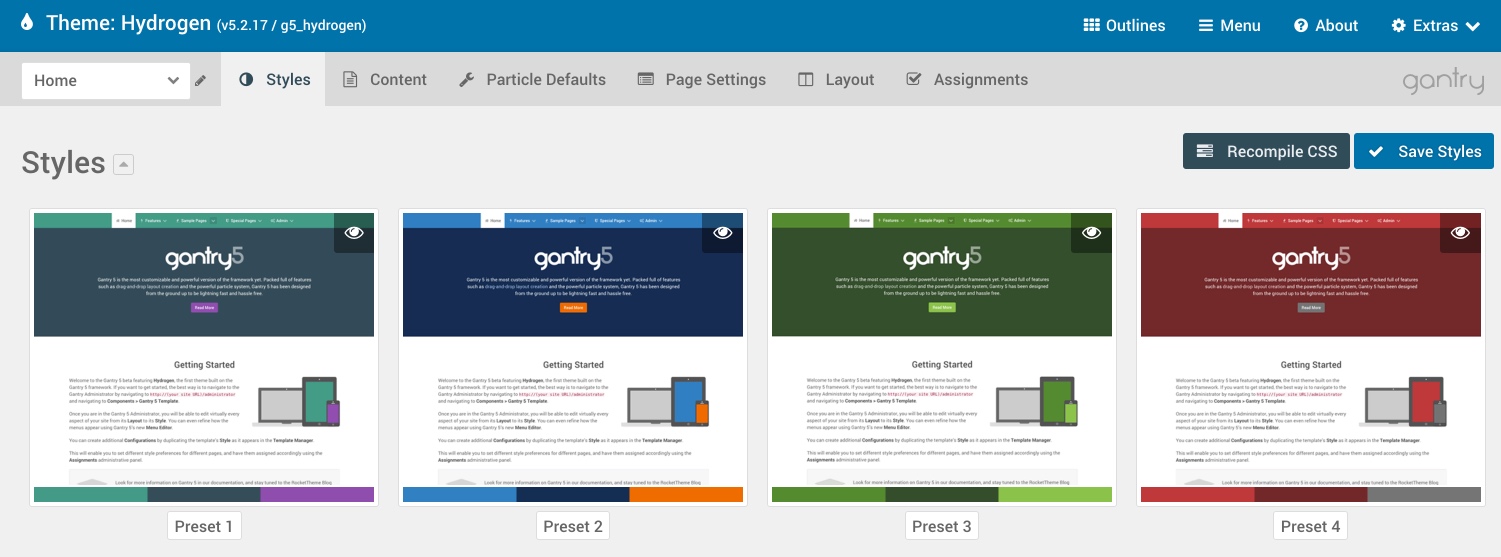
The Styles panel makes it easy to quickly adjust visual bits and pieces related to the Gantry-powered theme. This can include color-coded presets, fonts, accent colors and colors for specific portions of the page, as well as custom elements such as colors, block styles, and backgrounds. Basically, anything affected by CSS related to page design can be configured here.
Particle Defaults

The Particle Defaults panel is a virtual command center for Particles. This is where you can quickly toggle Particles on and off, as well as configure their global settings.
Layout

This is the Layout Manager panel which enables you to arrange Particles, content, and widget/module positions for your theme. This panel is essentially where you set up how the page's elements will be arranged, and what they will include. Additionally, you can access individual settings for Particles, Blocks, Sections, and Grids.
Assignments
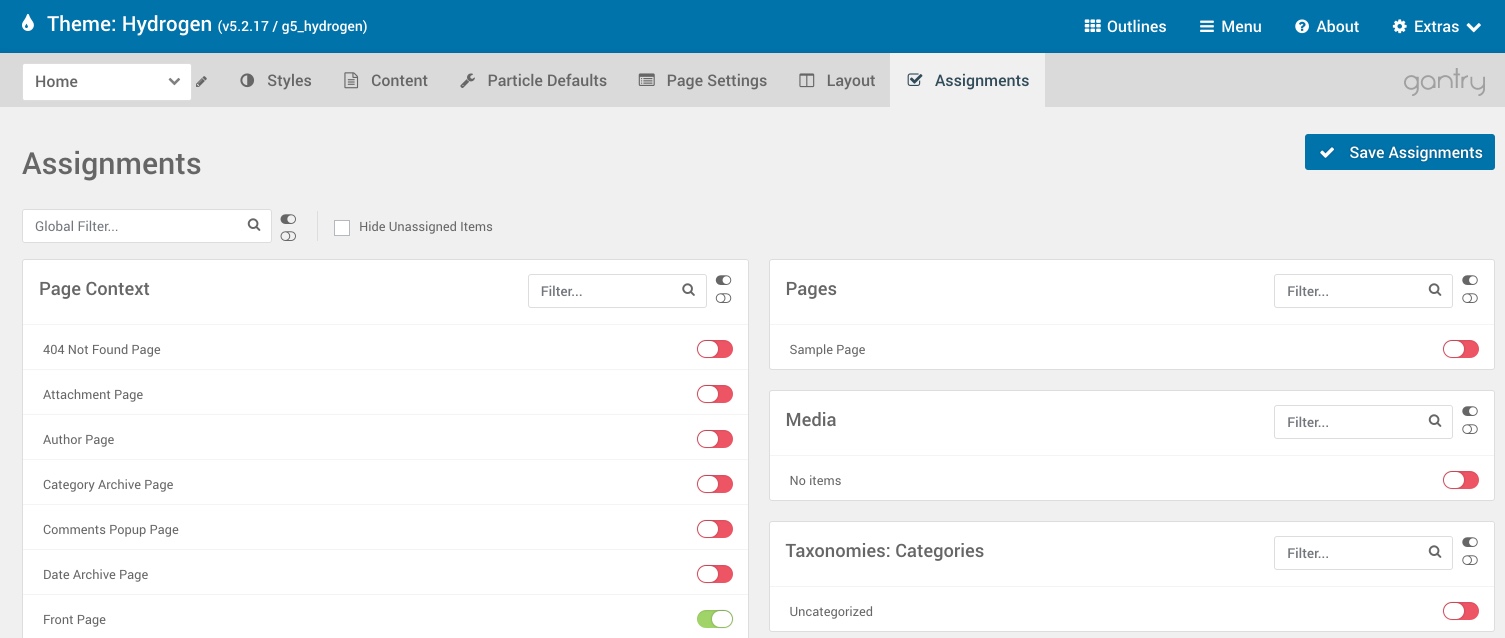
The Assignments panel is your one-stop-shop for assigning Outlines to specific pages. For example, if you have an outline set up that you would like to apply specifically to your About page, you can do so here.
Content (WordPress)
The Content administrative panel is not available on Joomla as Joomla handles these settings in its own integrated system.
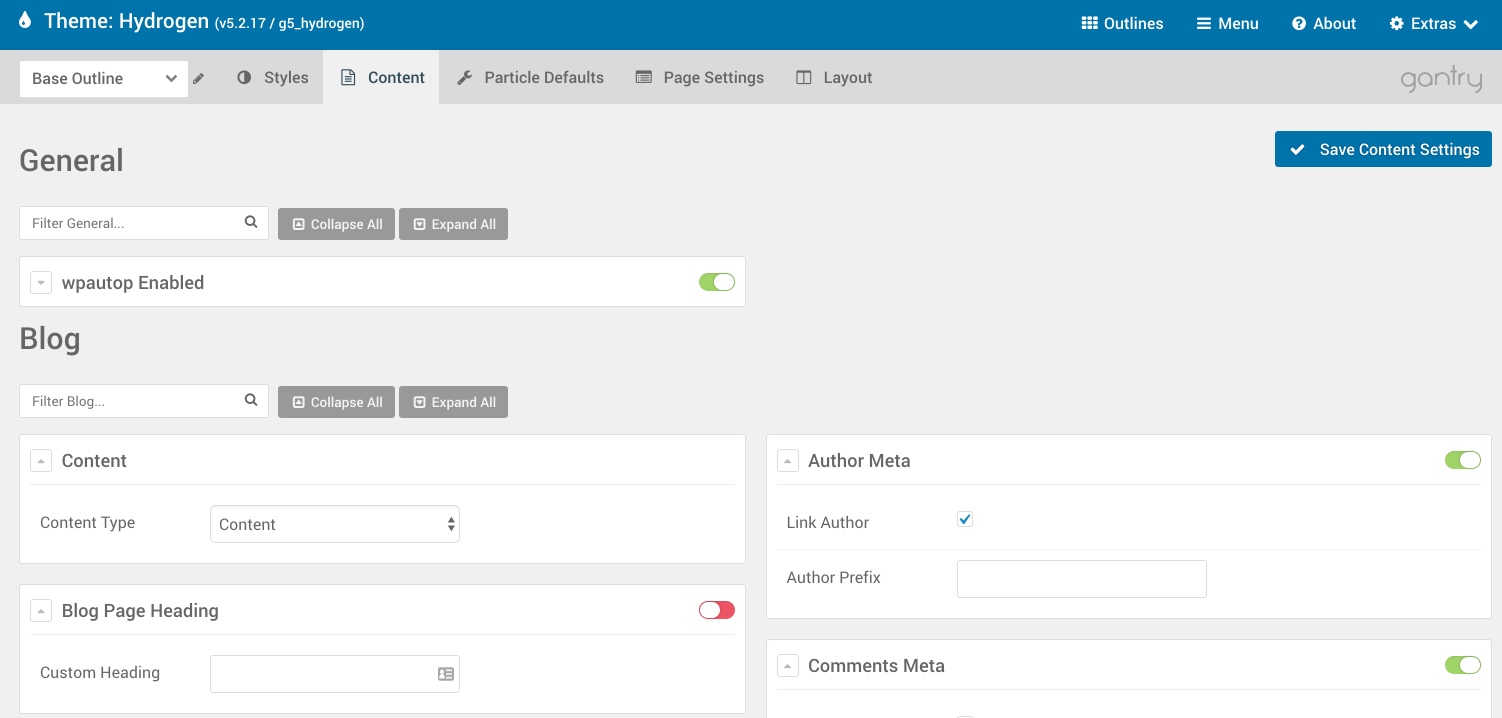
The Content administrative panel gives you the ability to quickly and easily configure the way content is displayed on a given page.
For example, you can use this panel to set which categories appear in a page, as well as meta information such as author tags, comments, the size of featured images, and more.
The following types of pages have their own set(s) of settings:
- Blog
- Page
- Post
- Archive
This enables you to refine how data is displayed, depending on the type of page it is being displayed on. This gives your outlines extended flexibility, and significantly reduces development time as a result.
The Content administrative panel is not presently available in Grav.