Positions (Grav)

Currently, the Positions area of the admin is only available in Grav.
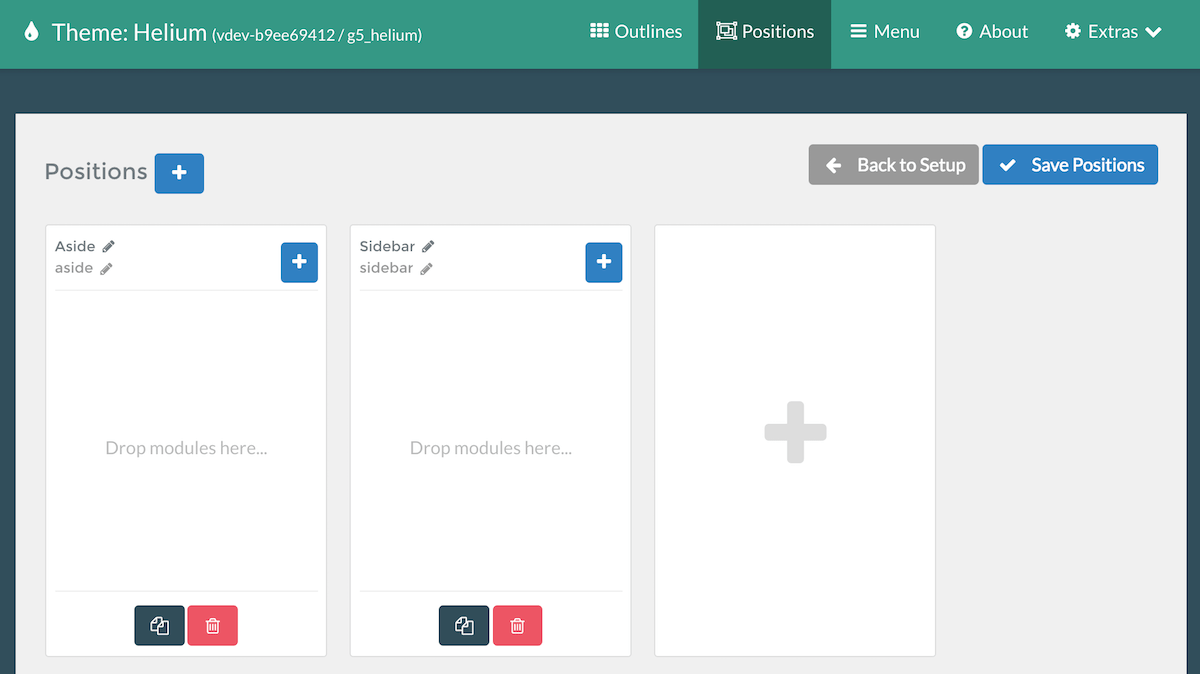
The Positions administrative panel is designed to create a functional positions manager within Gantry 5. This is especially useful in Grav, which doesn't have a built-in modular positions management system.
This panel enables you to create positions which can be assigned to a layout through the Module Position particle. You can create a new position, assign and configure particles within it, and give it a unique key which is used to link it to a Module Position particle in the Layout Manager.
Creating a new position is simple. Locate the blank rectangle with the giant icon and select it. This will create a new, untitled position. You can give the position a title by clicking on the icon next to the bold title at the top of the position.

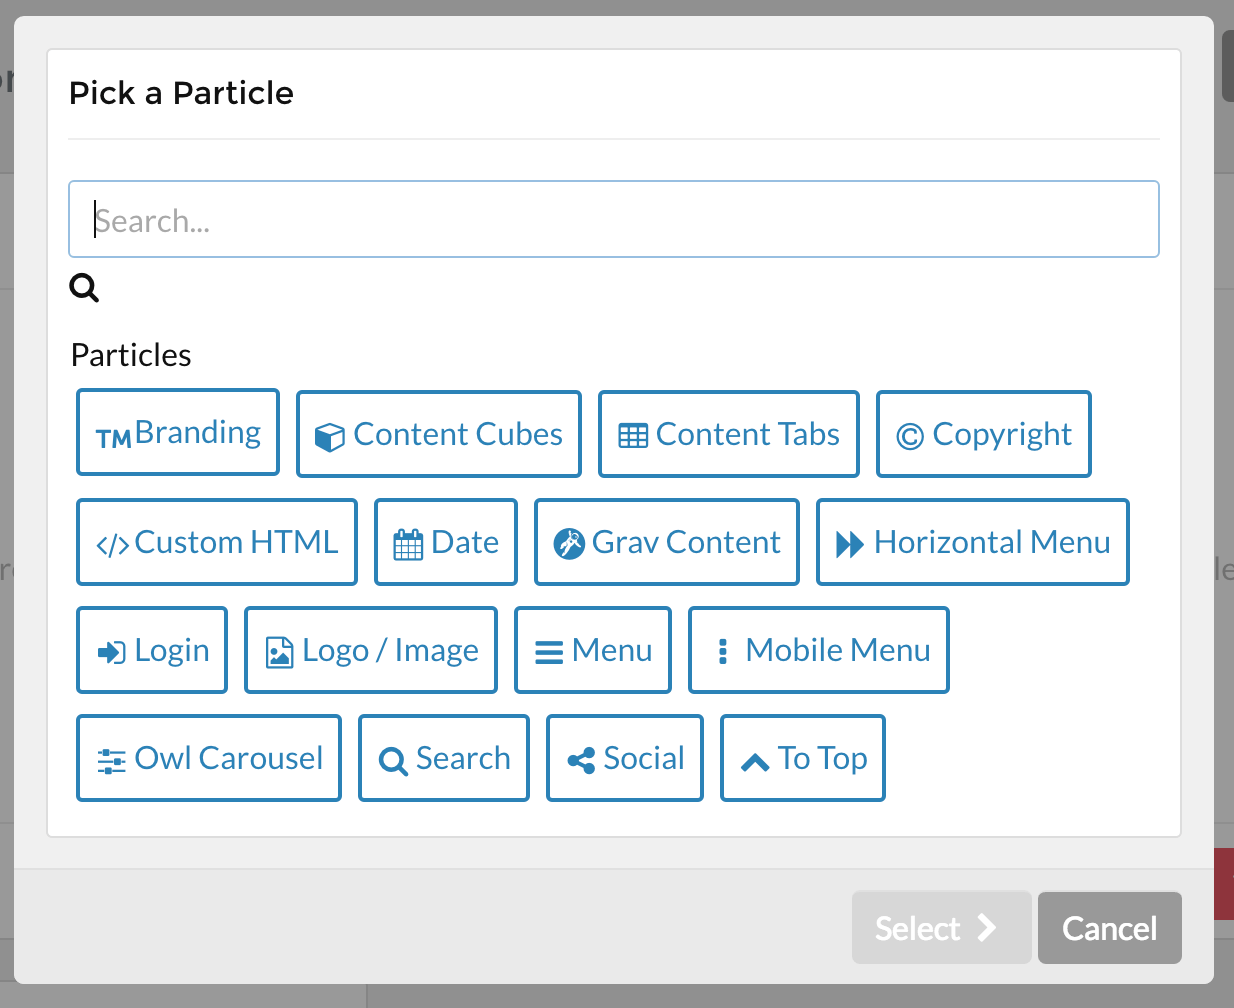
Now, you can add particles to the position by selecting the blue button with the icon on it and picking the type of particle you would like to add.

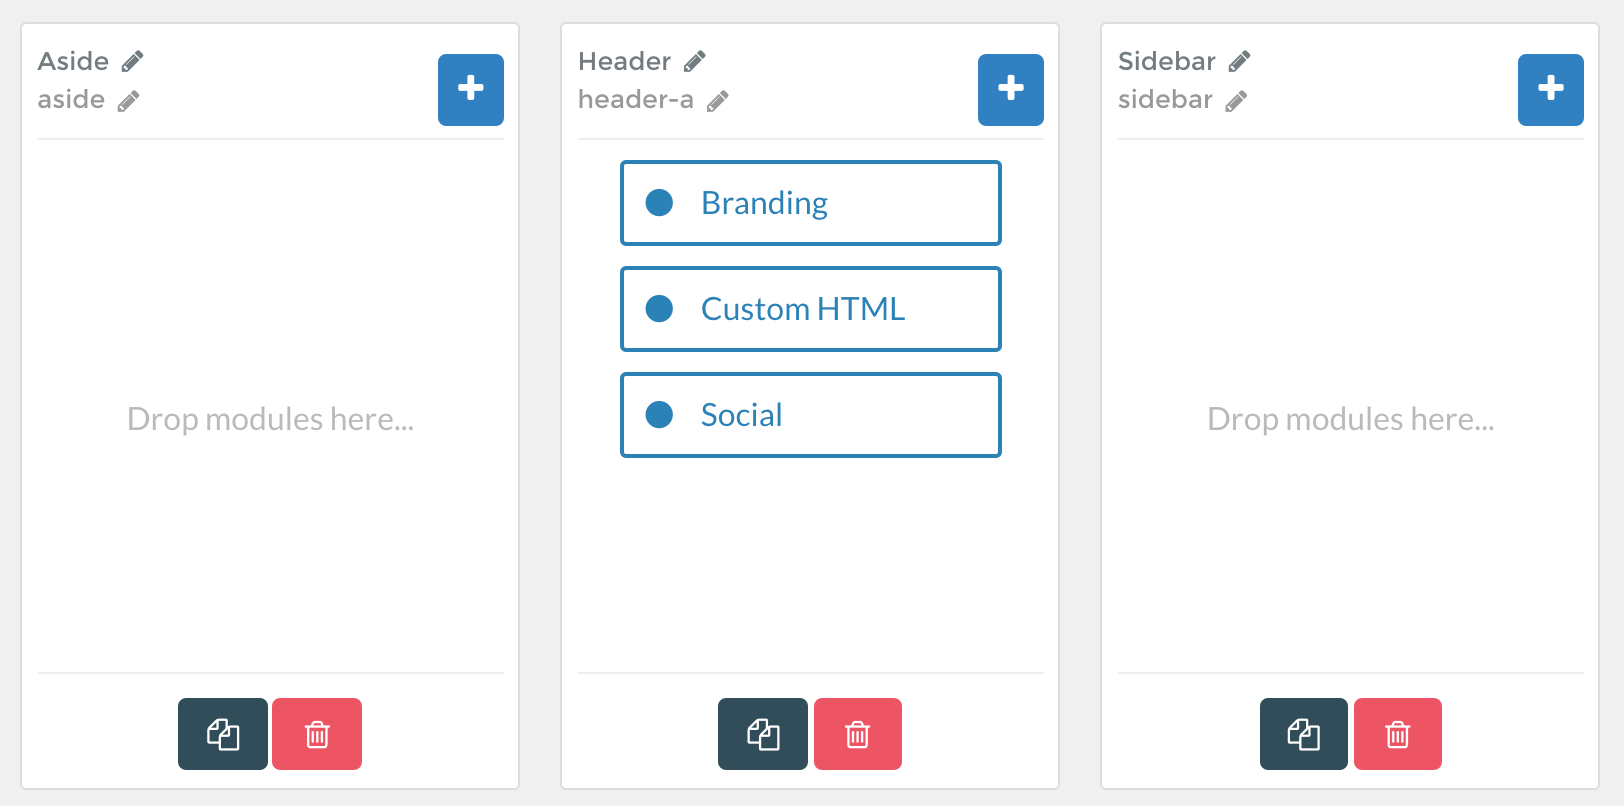
You can do this as many times as you'd like, with each new particle appearing at the bottom of the stack. You can rearrange particles by dragging and dropping them to the desired location. This will enable you to create a position, packed with particles that you can deploy anywhere in your Layout you would like.

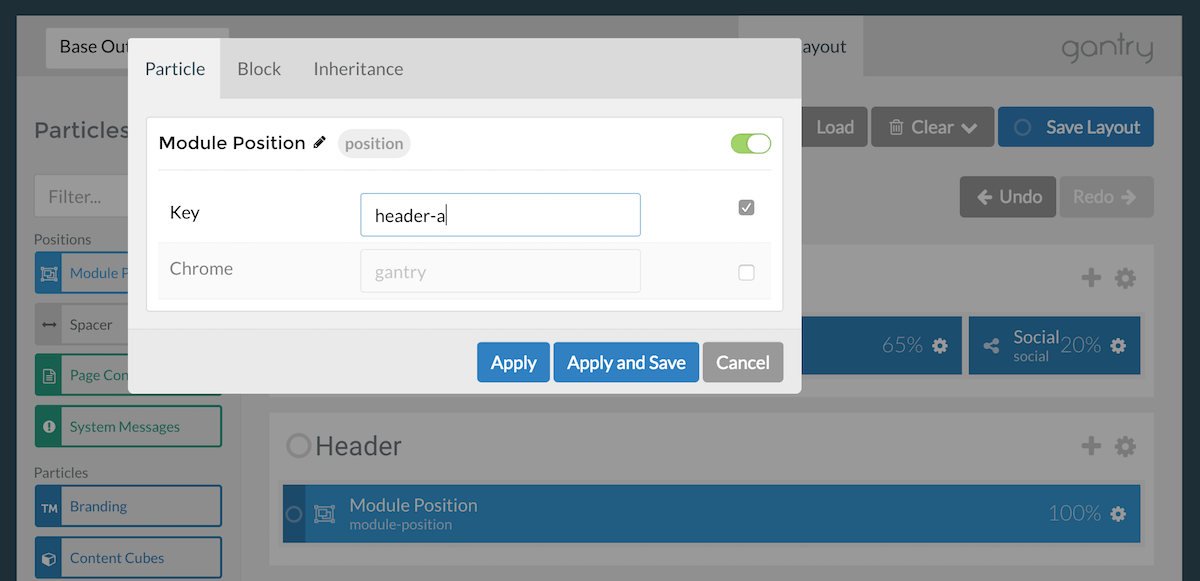
Once you have created the position, you can simply navigate to the Layout Manager for the Outline (or Outlines) you wish to apply the position where you would like it to go by simply dragging and dropping a Module Position particle to the location and adding the position's key in the Key field.