Adding and Using Fonts
How to Load Local Fonts in the Theme
In this guide we will be using Gaspar as our new local font. You can pick it up from FontSquirrel. Simply select the Webfont Kit button and download gaspar-fontfacekit.zip.
Adding a New Font to Your Theme
If you want to have local fonts load across your site, you can do so by completing these simple steps:
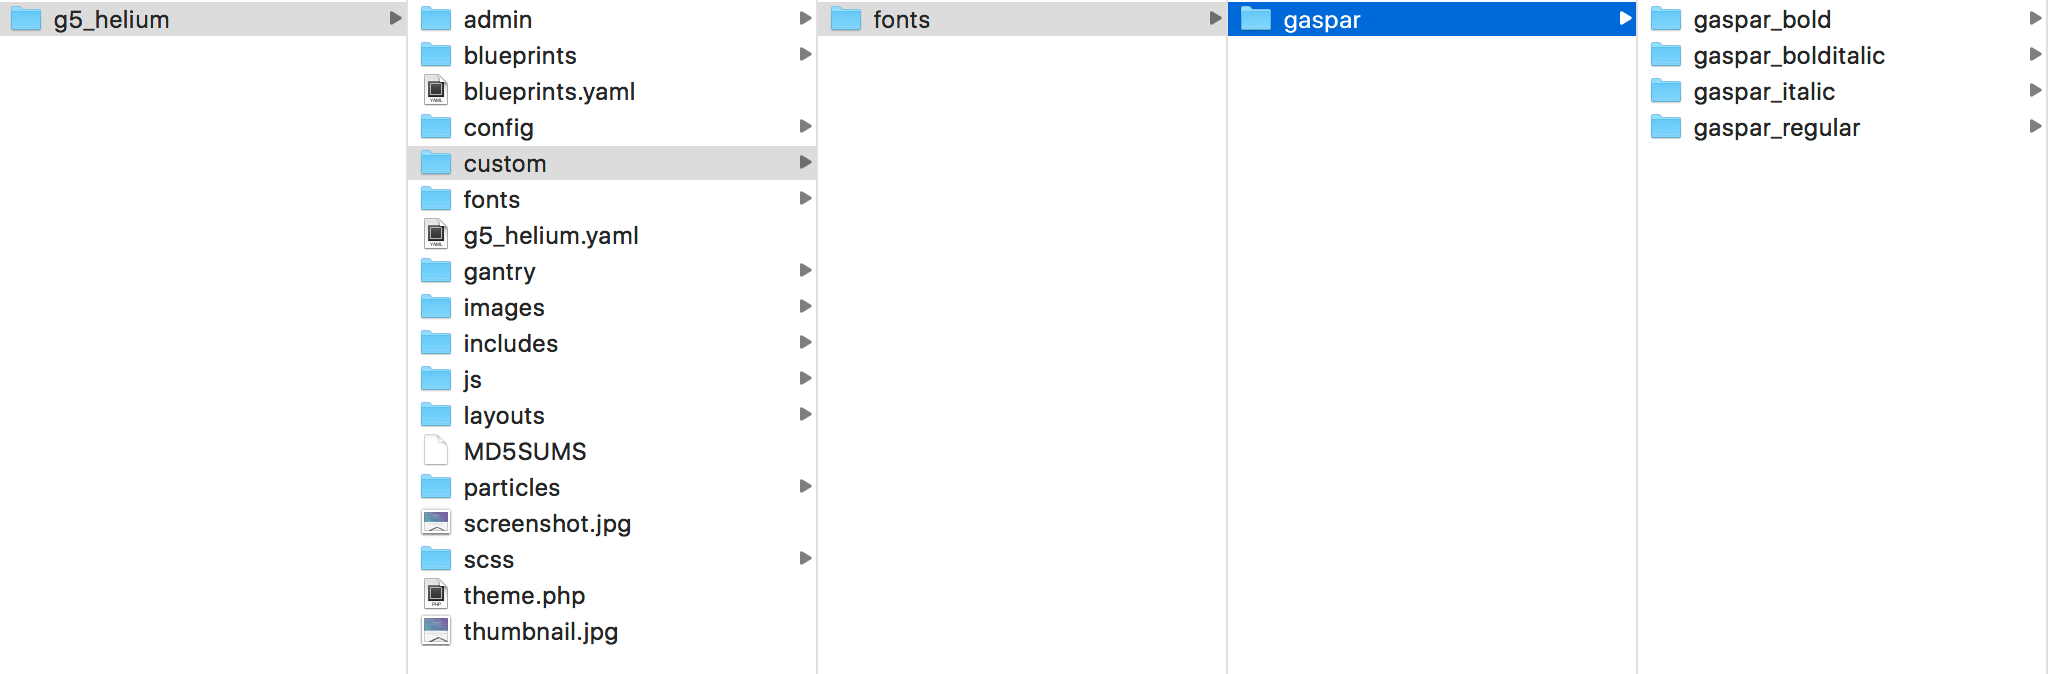
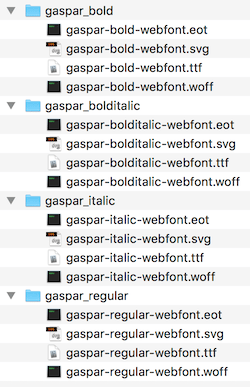
- Add the local font files to
TEMPLATE_DIR/custom/fonts/. - Add your font to your
custom.scssfile. If you haven't already created one, you will need to do so by adding it toTEMPLATE_DIR/custom/scss.
@import "dependencies";
@include font-face('gaspar', 'gantry-theme://fonts/gaspar/gaspar_regular/gaspar-regular-webfont', 400);
@include font-face('gaspar-italic', 'gantry-theme://fonts/gaspar/gaspar_italic/gaspar-italic-webfont', 400);
@include font-face('gaspar-bold', 'gantry-theme://fonts/gaspar/gaspar_bold/gaspar-bold-webfont', 700);
@include font-face('gaspar-bolditalic', 'gantry-theme://fonts/gaspar/gaspar_bolditalic/gaspar-bolditalic-webfont', 700);
- Add the local font files to
THEME_DIR/custom/fonts/. - Add your font to your
custom.scssfile. If you haven't already created one, you will need to do so by adding it toTHEME_DIR/custom/scss.
@import "dependencies";
@include font-face('gaspar', 'gantry-theme://fonts/gaspar/gaspar_regular/gaspar-regular-webfont', 400);
@include font-face('gaspar-italic', 'gantry-theme://fonts/gaspar/gaspar_italic/gaspar-italic-webfont', 400);
@include font-face('gaspar-bold', 'gantry-theme://fonts/gaspar/gaspar_bold/gaspar-bold-webfont', 700);
@include font-face('gaspar-bolditalic', 'gantry-theme://fonts/gaspar/gaspar_bolditalic/gaspar-bolditalic-webfont', 700)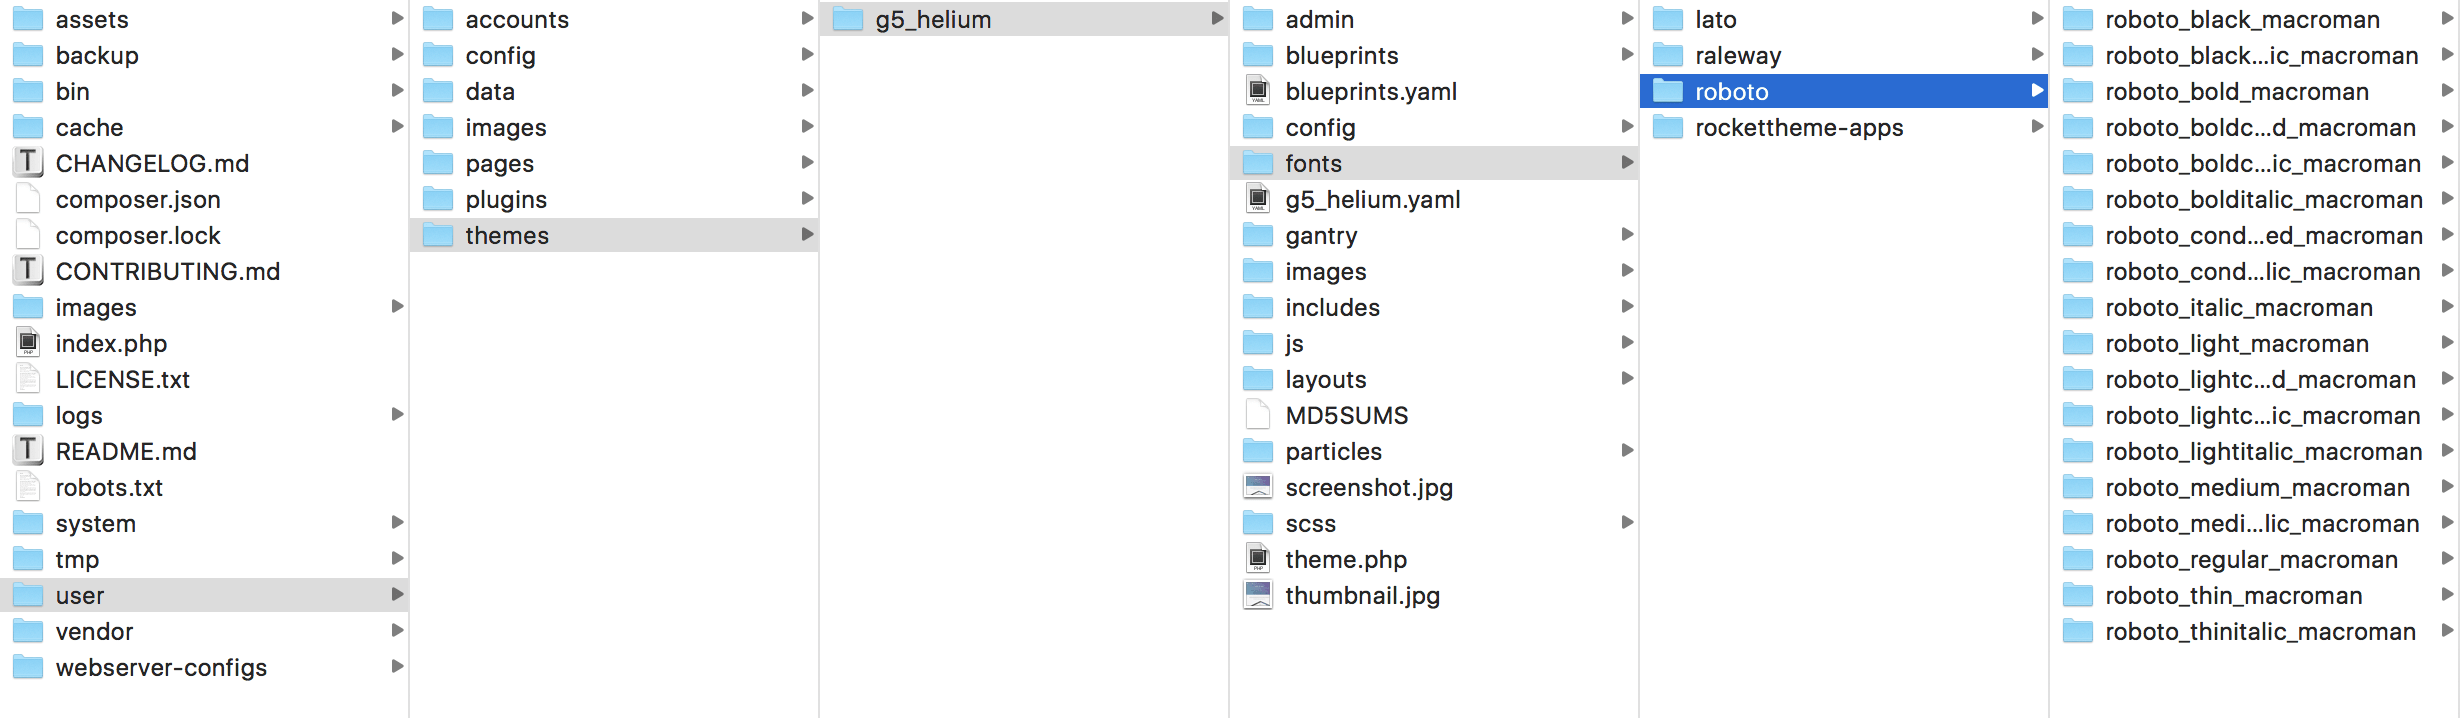
- Add the local font files to
user/data/gantry5/themes/THEME_DIR/fonts/. - Add your font to your
custom.scssfile. If you haven't already created one, you will need to do so by adding it toROOT/user/data/gantry5/themes/THEME_DIR/scss.
@import "dependencies";
@include font-face('gaspar', 'gantry-theme://fonts/gaspar/gaspar_regular/gaspar-regular-webfont', 400);
@include font-face('gaspar-italic', 'gantry-theme://fonts/gaspar/gaspar_italic/gaspar-italic-webfont', 400);
@include font-face('gaspar-bold', 'gantry-theme://fonts/gaspar/gaspar_bold/gaspar-bold-webfont', 700);
@include font-face('gaspar-bolditalic', 'gantry-theme://fonts/gaspar/gaspar_bolditalic/gaspar-bolditalic-webfont', 700)
Font Weights
Here's a quick reference guide to the font weight numbers that are shown above in the @font-face:
| Weight | Description |
|---|---|
| 100 | Thin |
| 200 | Extra Light |
| 300 | Light |
| 400 | Regular |
| 500 | Medium |
| 600 | Semi-Bold |
| 700 | Bold |
| 800 | Extra Bold |
| 900 | Ultra Bold |
Installing a Custom Font: Example
In this example, we will explain how you can add the custom free font Bloody to your Gantry template.

Step 1: Adding Your Custom Font Files
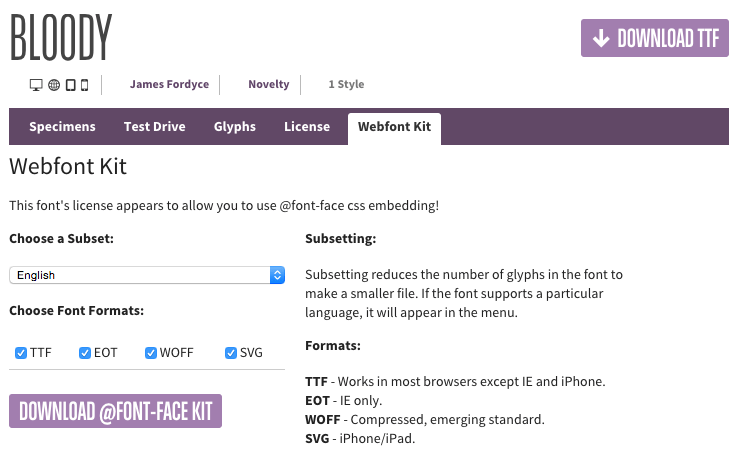
Bloody is a free font that you can download at FontSquirrel. Please ensure you download the @font-face Kit.
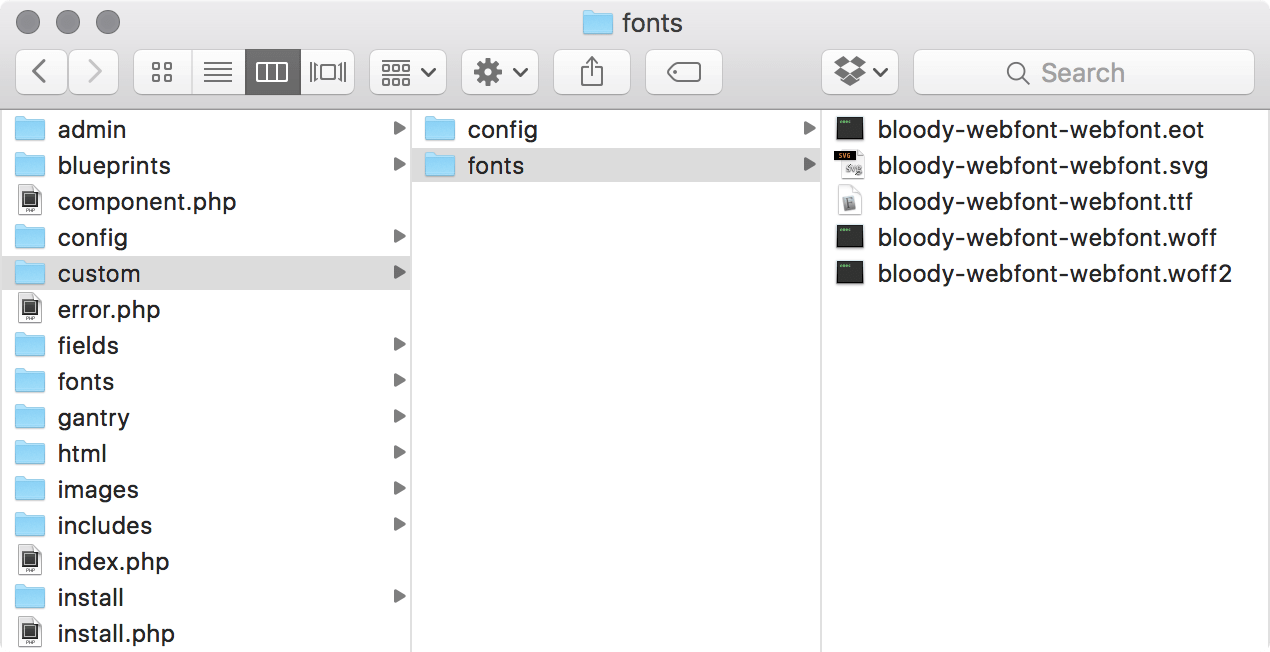
Unzip the package and move the following files to TEMPLATE_DIR/custom/fonts/:
- BLOODY-webfont.eot
- BLOODY-webfont.svg
- BLOODY-webfont.ttf
- BLOODY-webfont.woff
- BLOODY-webfont.woff2
Unzip the package and move the following files to THEME_DIR/custom/fonts/:
- BLOODY-webfont.eot
- BLOODY-webfont.svg
- BLOODY-webfont.ttf
- BLOODY-webfont.woff
- BLOODY-webfont.woff2
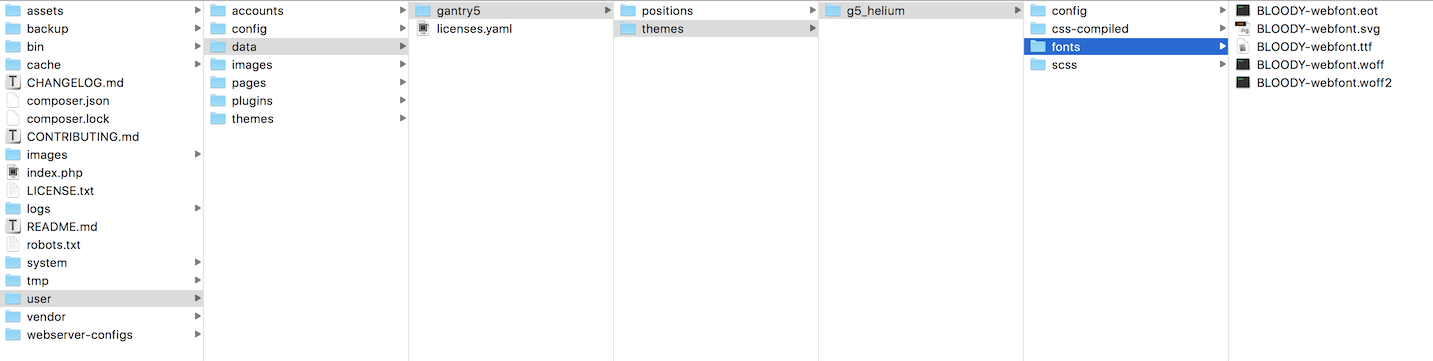
Unzip the package and move the following files to user/data/gantry5/themes/THEME_DIR/fonts/:
- BLOODY-webfont.eot
- BLOODY-webfont.svg
- BLOODY-webfont.ttf
- BLOODY-webfont.woff
- BLOODY-webfont.woff2
Step 2: Adding the Necessary CSS
Create your custom style sheet file, custom.scss, and add it to TEMPLATE_DIR/custom/scss/.
Add the following to the custom SCSS file:
/* Adding Font BLOODY */

@import "dependencies";
@include font-face('BloodyNormal', 'gantry-theme://fonts/BLOODY-webfont');

.font-family-bloody {
  font-family: 'BloodyNormal',Helvetica,Arial,sans-serif;
  font-weight: normal;
  font-style: normal;
}
Create your custom style sheet file, custom.scss, and add it to THEME_DIR/custom/scss/.
Add the following to the custom SCSS file:
/* Adding Font BLOODY */

@import "dependencies";
@include font-face('BloodyNormal', 'gantry-theme://fonts/BLOODY-webfont');

.font-family-bloody {
  font-family: 'BloodyNormal',Helvetica,Arial,sans-serif;
  font-weight: normal;
  font-style: normal;
}
Create your custom style sheet file, custom.scss, and add it to user/data/gantry5/themes/THEME_DIR/scss/.
Add the following to the custom SCSS file:
/* Adding Font BLOODY */

@import "dependencies";
@include font-face('BloodyNormal', 'gantry-theme://fonts/BLOODY-webfont');

.font-family-bloody {
  font-family: 'BloodyNormal',Helvetica,Arial,sans-serif;
  font-weight: normal;
  font-style: normal;
}
Font Usage

Once you have added the font to your theme's custom content directory, you can apply it to your site. For example, if you wanted the title of a Particle to appear in the Bloody font, you would reference it in the Particle's Twig file.
{% if particle.headline %}<h1 class="font-family-bloody">{{ particle.headline|raw }}</h1>{% endif %}As you can see, we set the h1 style to font-family: BloodyNormal;. Because that font family is defined in the custom.scss file, it should pull the Bloody find and present it to the front end.
There is one more step left to do. You need to Recompile CSS in the Styles administrative panel in the Gantry administrator. Doing this will force Gantry to recompile the CSS including the changes you made in the custom.scss file. Once you have done this, you should now be able to reload the page and see your changes.
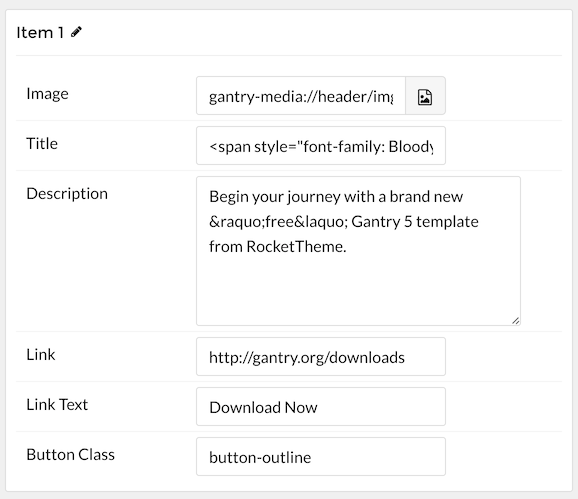
You can also reference it in Span tags within text fields in the Gantry administrator. For example, <span style="font-family: BloodyNormal;">Key Features</span> would also work in cases when you want to change the font for a single instance of the Particle.